


Halloween on a Budget? No Worries—Check Out This DIY Decoration!
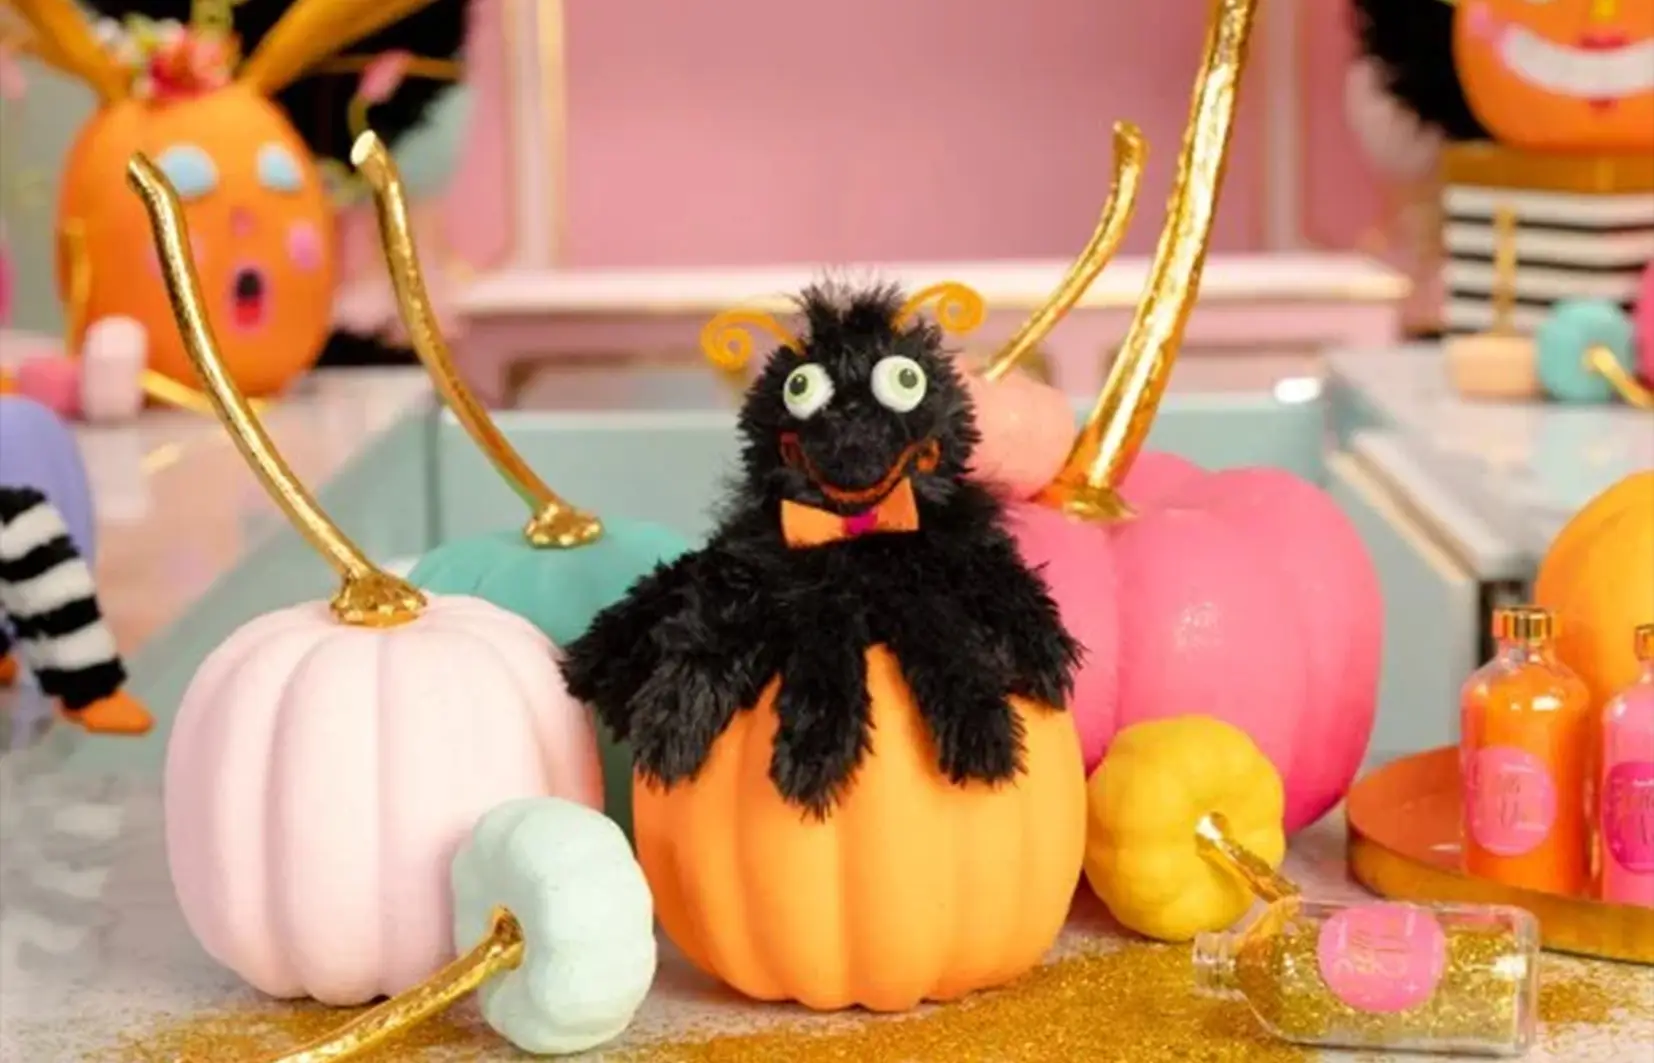
PHOTO: HGTV Handmade/Youtube
With Halloween just around the corner, it’s time to start thinking about spooky decorations that won't break the bank. If your budget is feeling a bit tight but you still want to add some festive flair to your home, look no further. We've got a fantastic DIY project that’s both budget-friendly and delightfully creepy. Follow along as we guide you through creating your very own hand-sewn spider puppet—perfect for adding a touch of Halloween fun to your festivities. Grab your materials and get ready to craft a charming decoration that’s sure to impress!
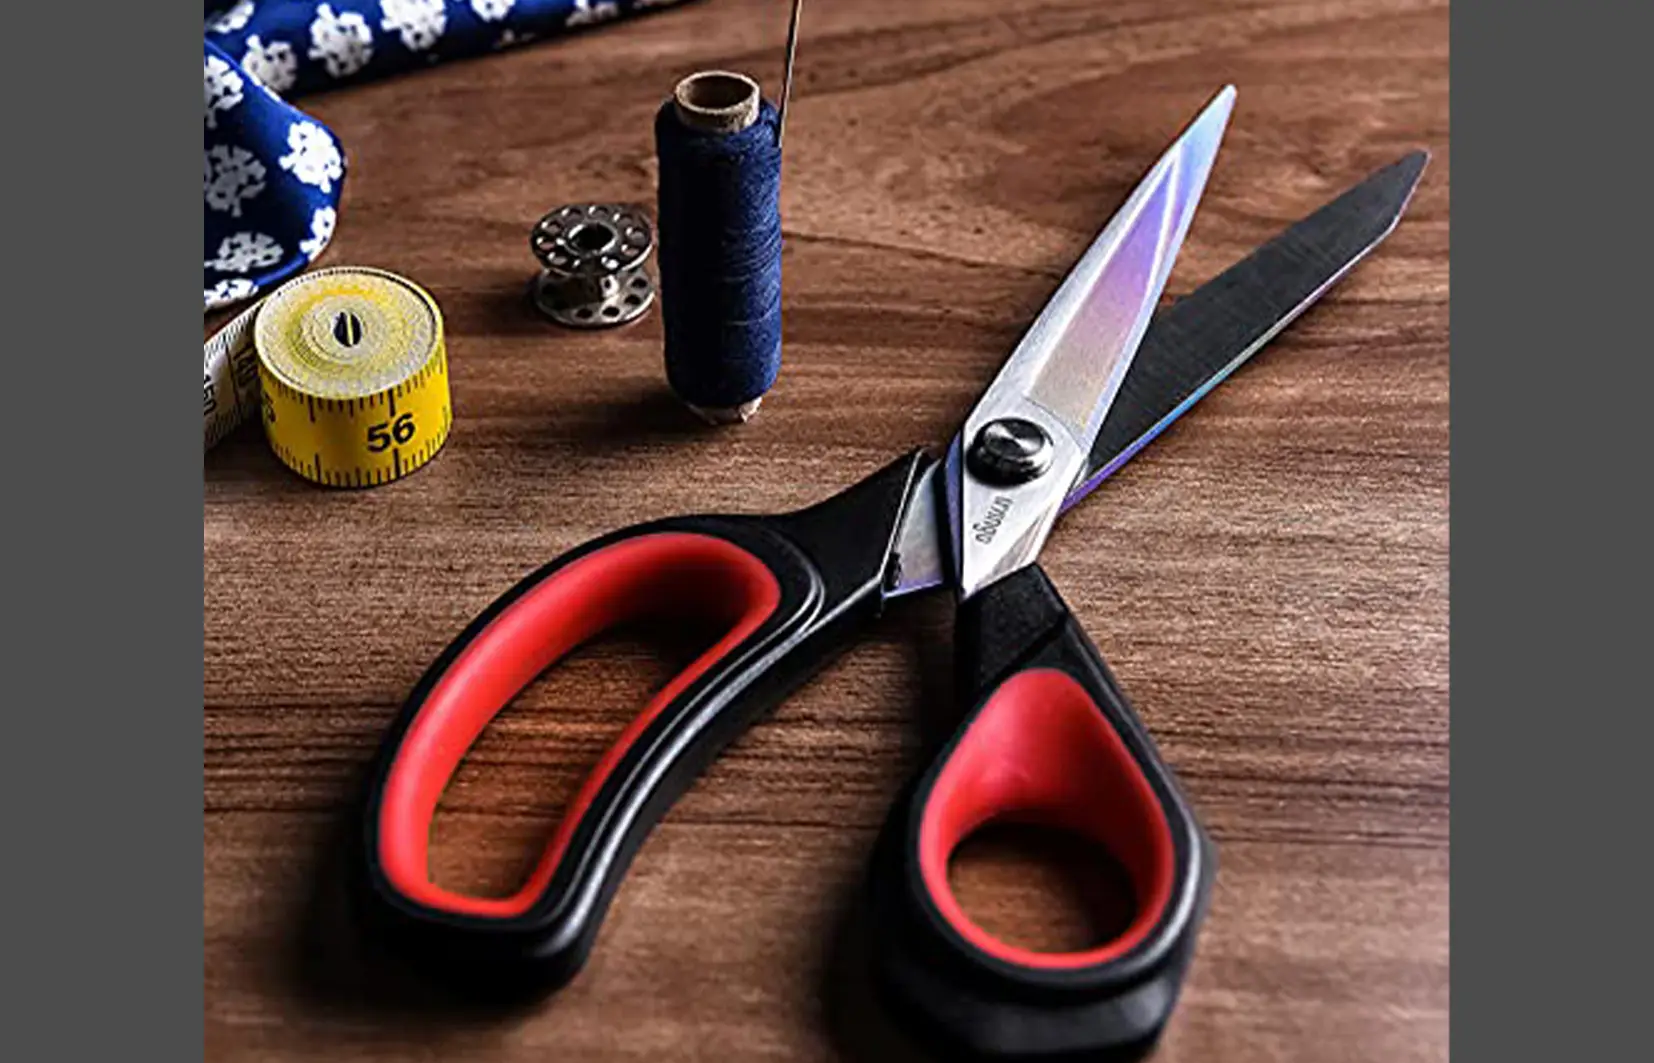
Materials & Tools You'll Need:
- Pencil
- Card stock
- Very sharp scissors
- 1/2 yard of black fur fabric
- Embroidery needle
- Buttonhole thread in black, orange, and white
- Straight pins
- Kitchen skewer
- 2.5-inch styrofoam ball
- Floral pin
- Black marabou
- Orange chenille stems
- Orange felt
- Pink felt
- 1-inch smooth styrofoam ball
- Craft knife
- Toothpicks
- White glue
- Acrylic paint
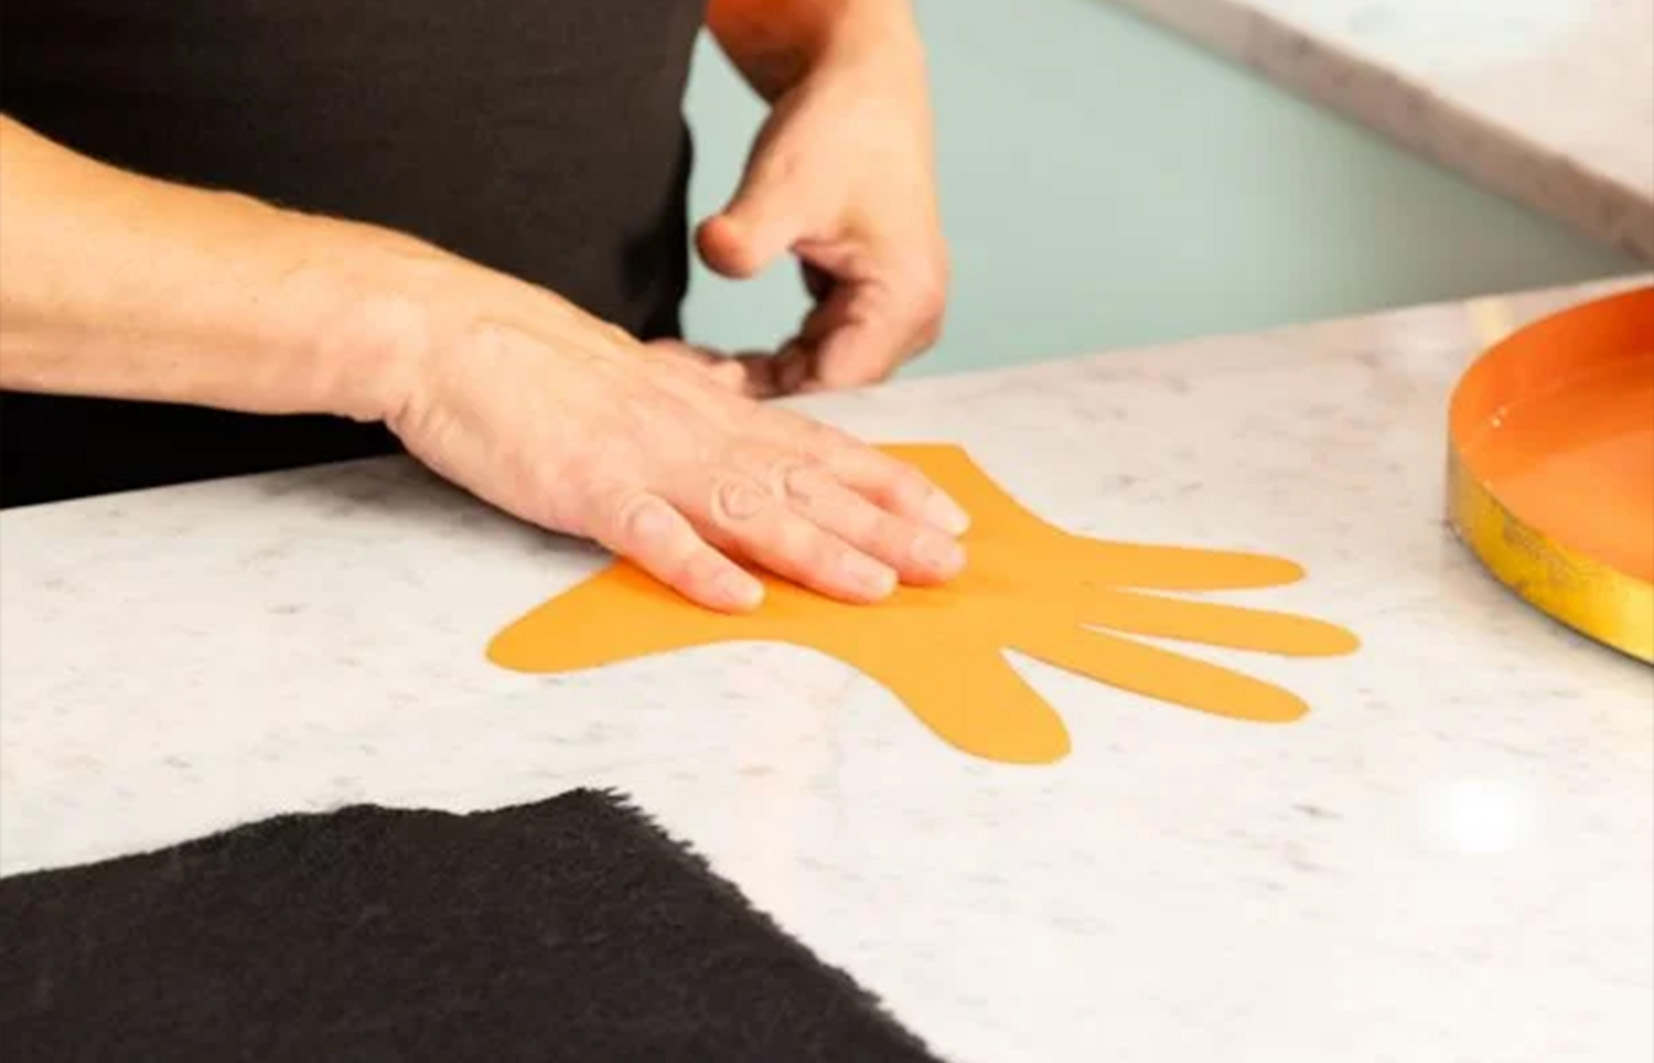
PHOTO: HGTV Handmade/Youtube
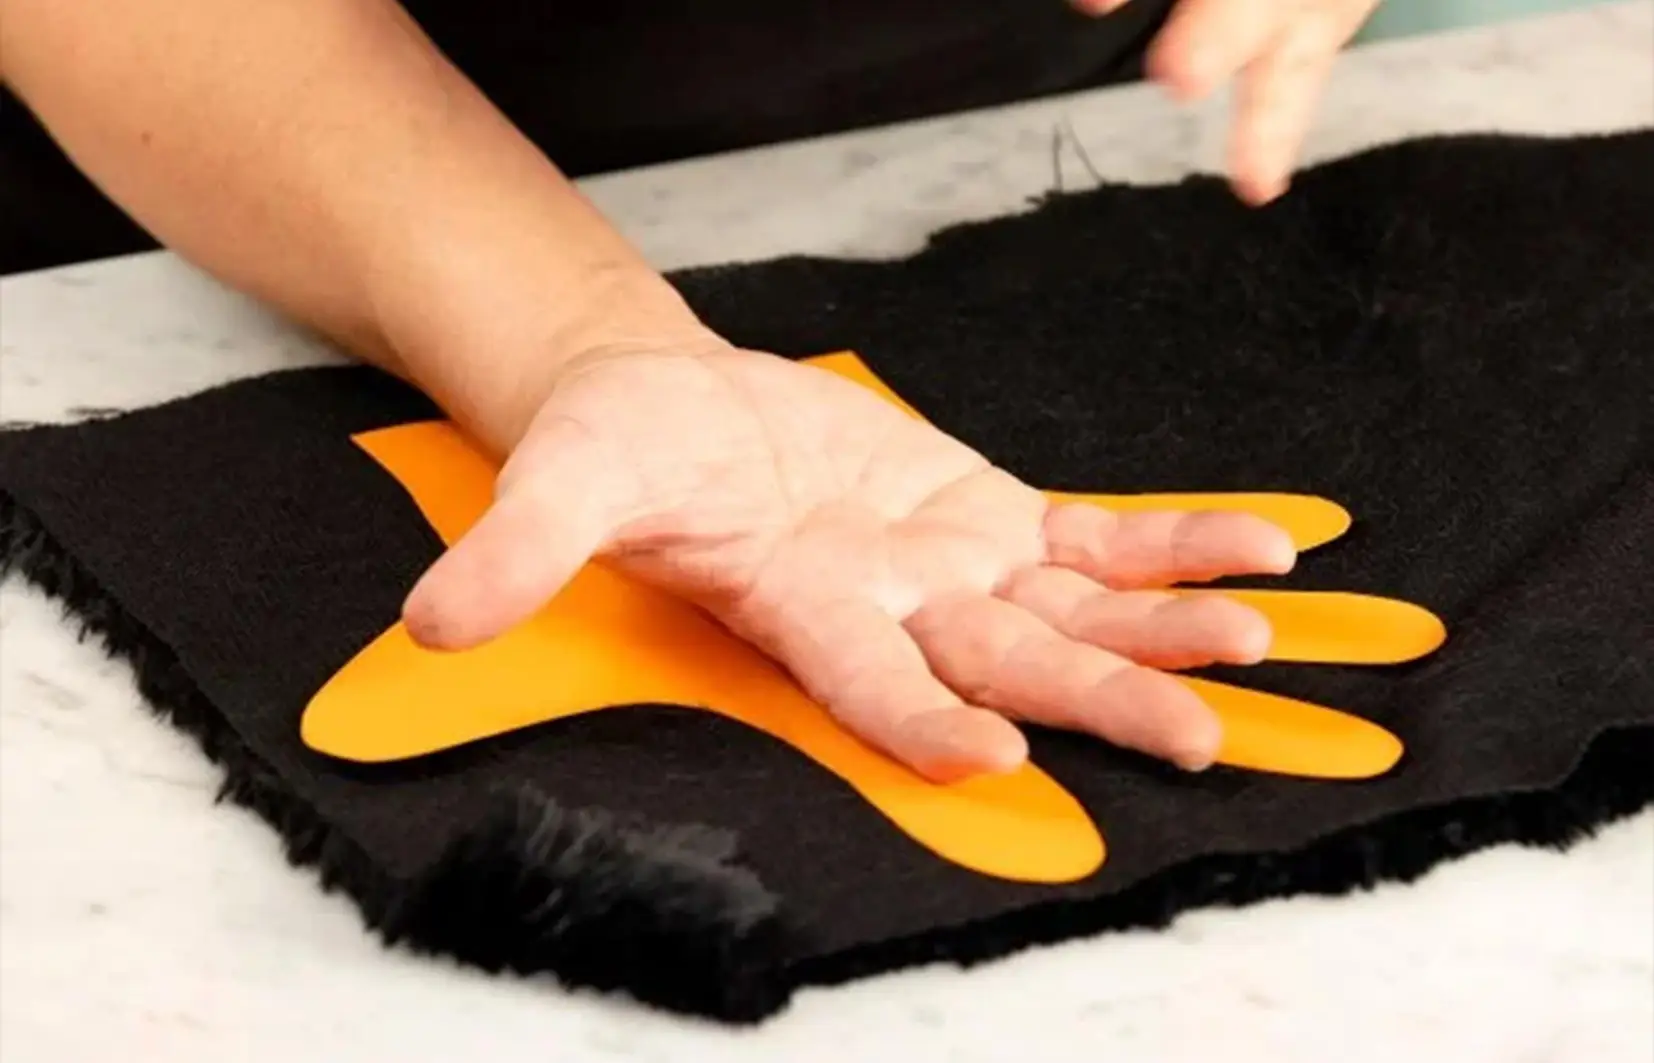
PHOTO: HGTV Handmade/Youtube
Step-by-Step Instructions:
Step 1: Trace Your Hand and Create a Template
Begin by tracing your hand onto a piece of card stock, ensuring your fingers are spread wide enough so the glove won't be too tight once it's sewn. This will form the template for your spider glove. You’ll want to leave space around your fingers to account for the seams that will be sewn later.
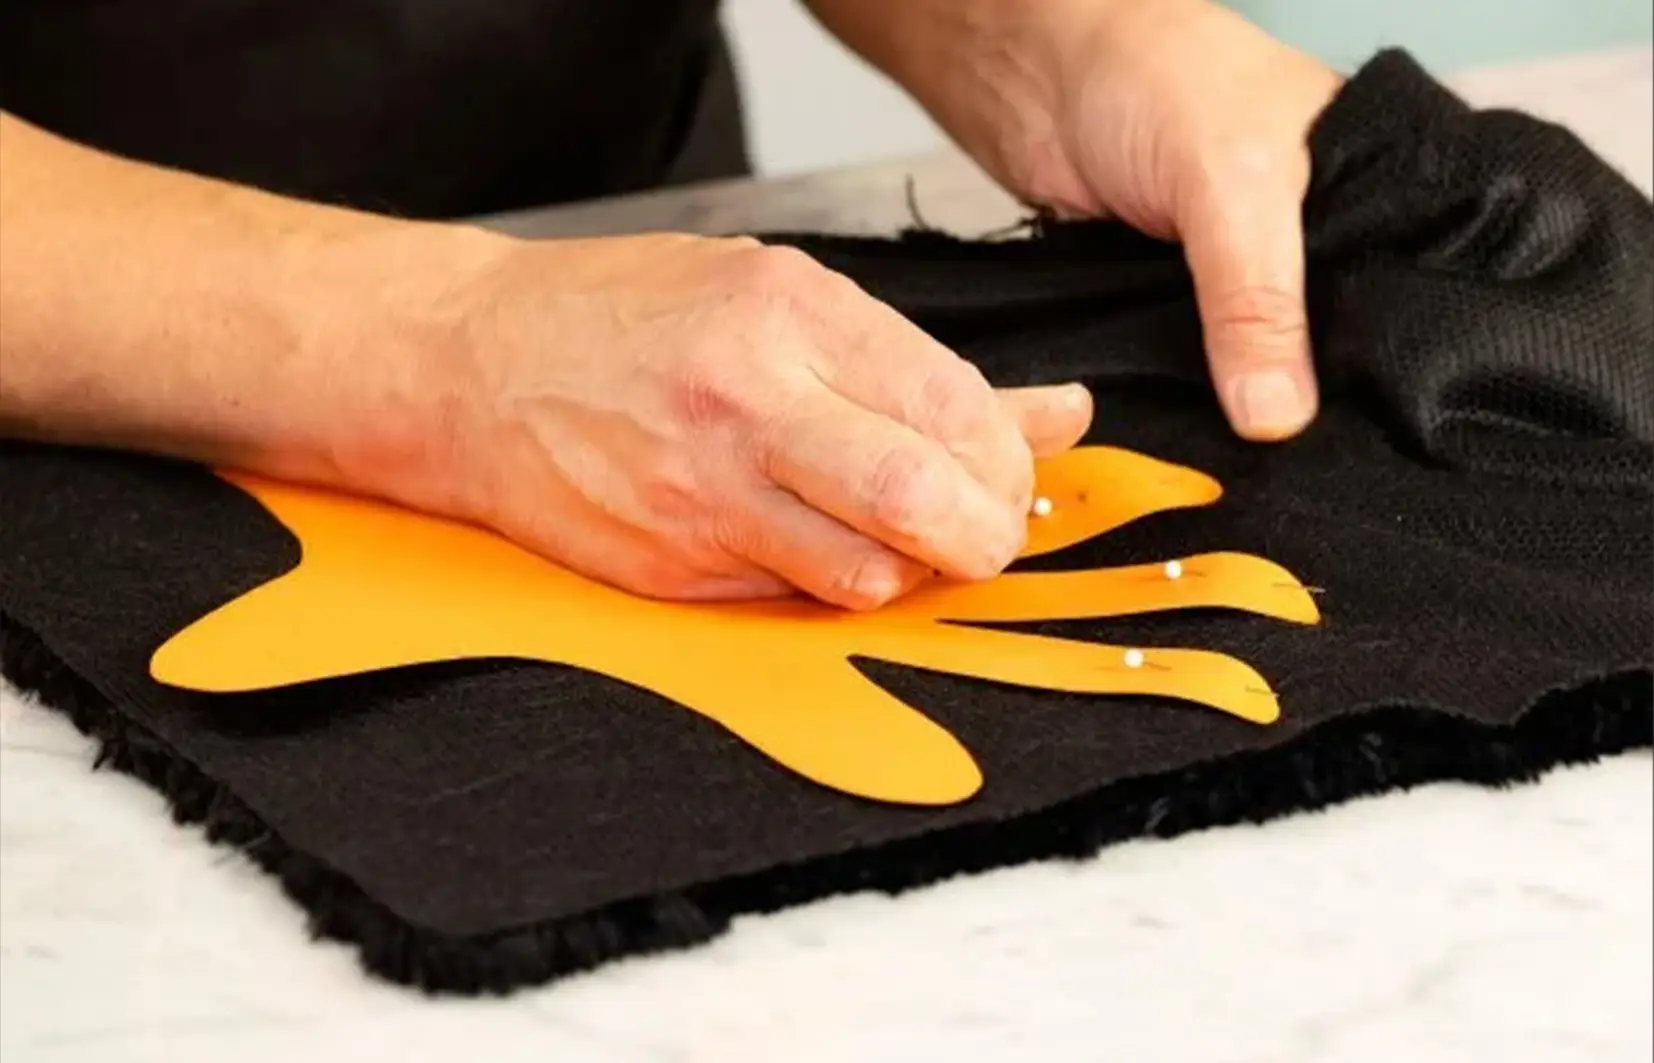
PHOTO: HGTV Handmade/Youtube
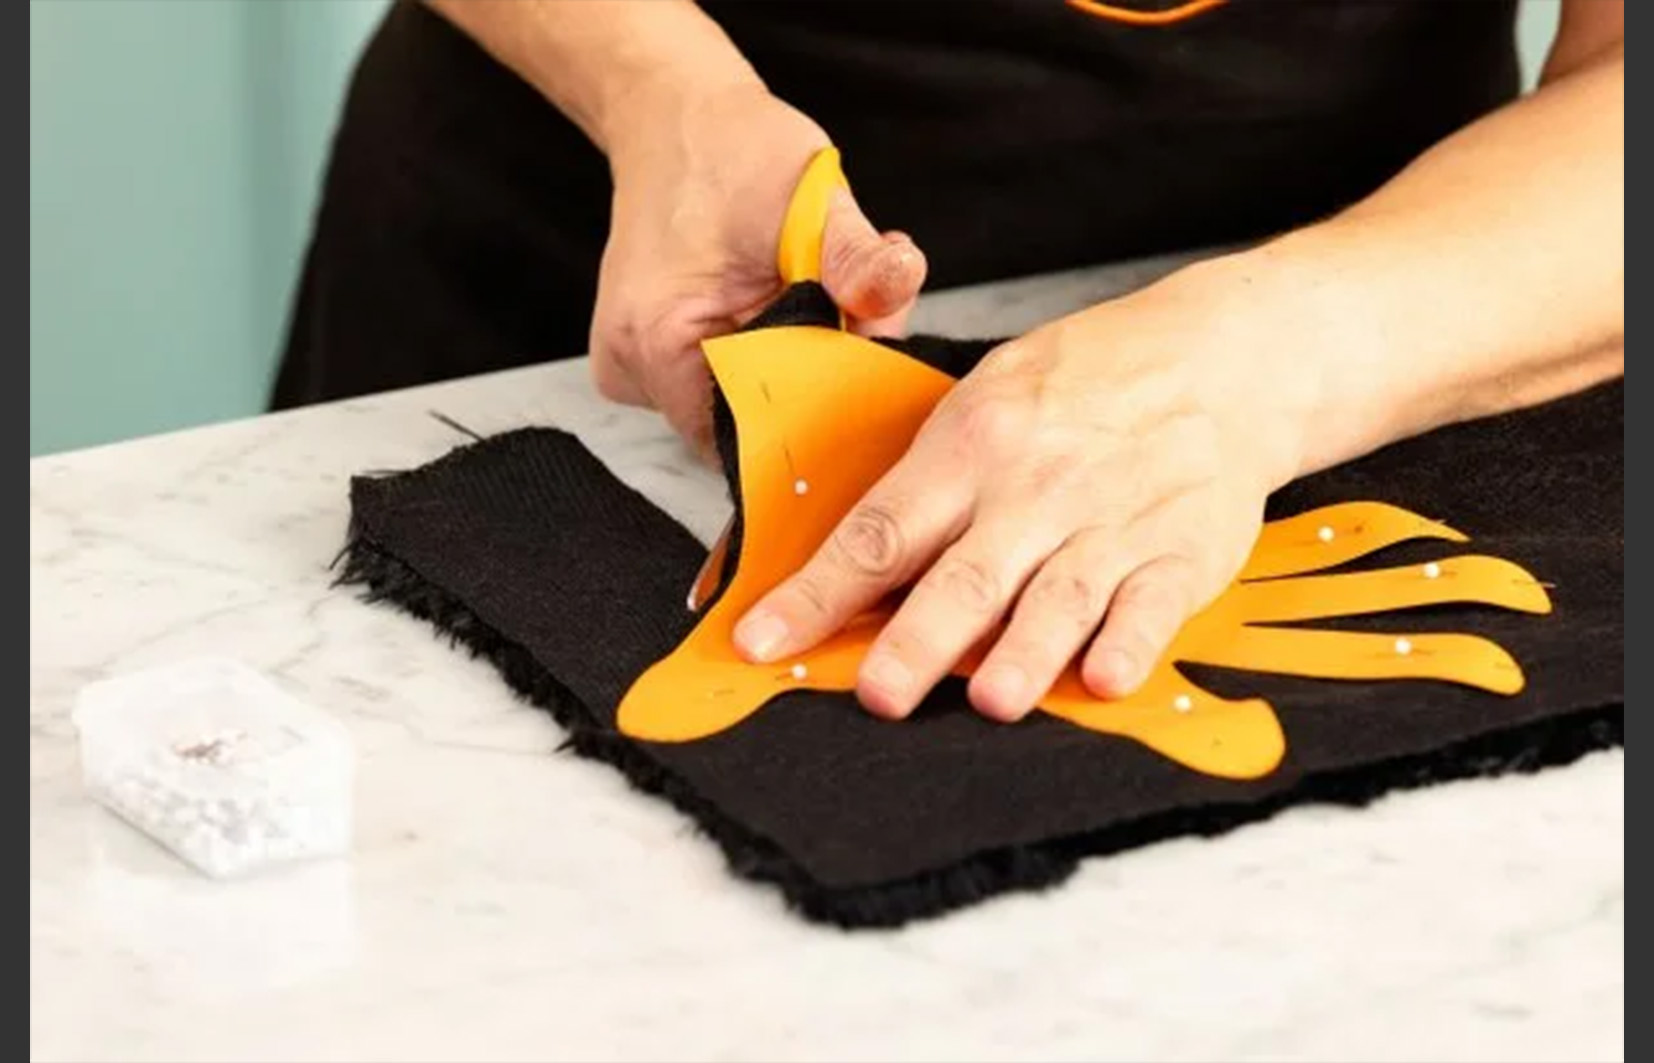
PHOTO: HGTV Handmade/Youtube
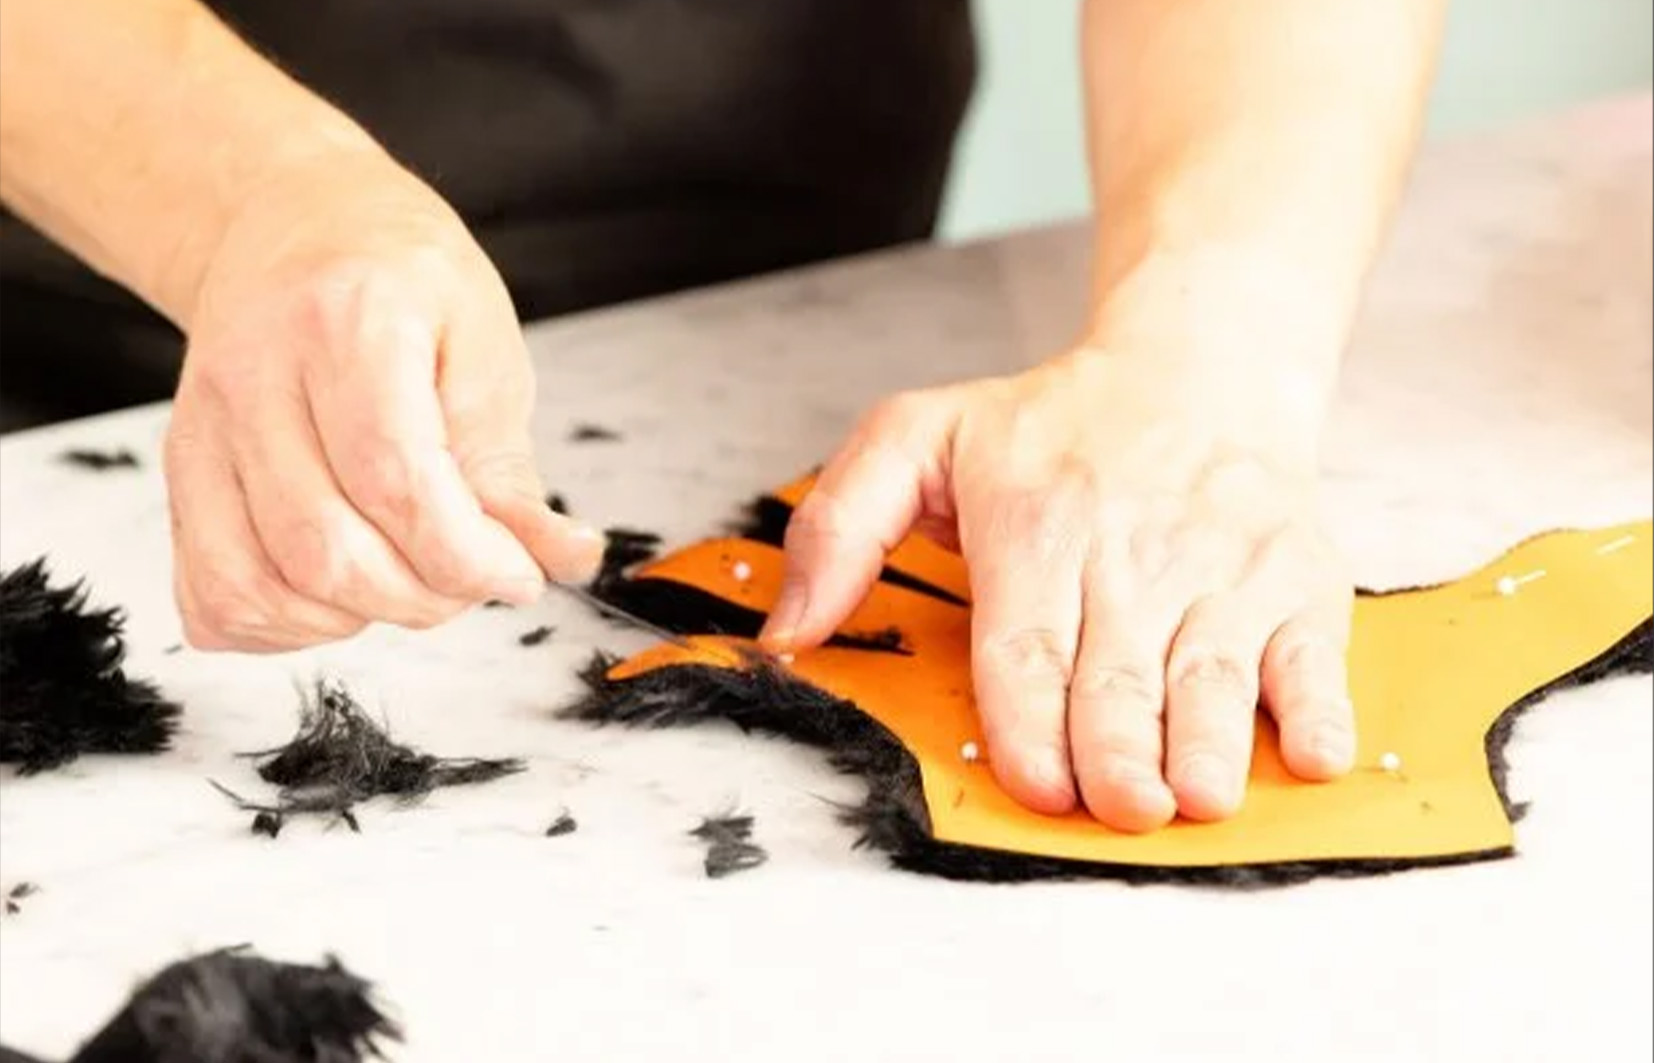
PHOTO: HGTV Handmade/Youtube
Step 2: Cut Out Your First Glove Piece
Pin the hand template to the wrong side of the fur fabric (furry side down). Make sure the grain of the fabric, or the direction the fur lies, points toward the fingertips. Carefully cut around the template, then remove any loose fur from the edges before cutting out the second glove piece.
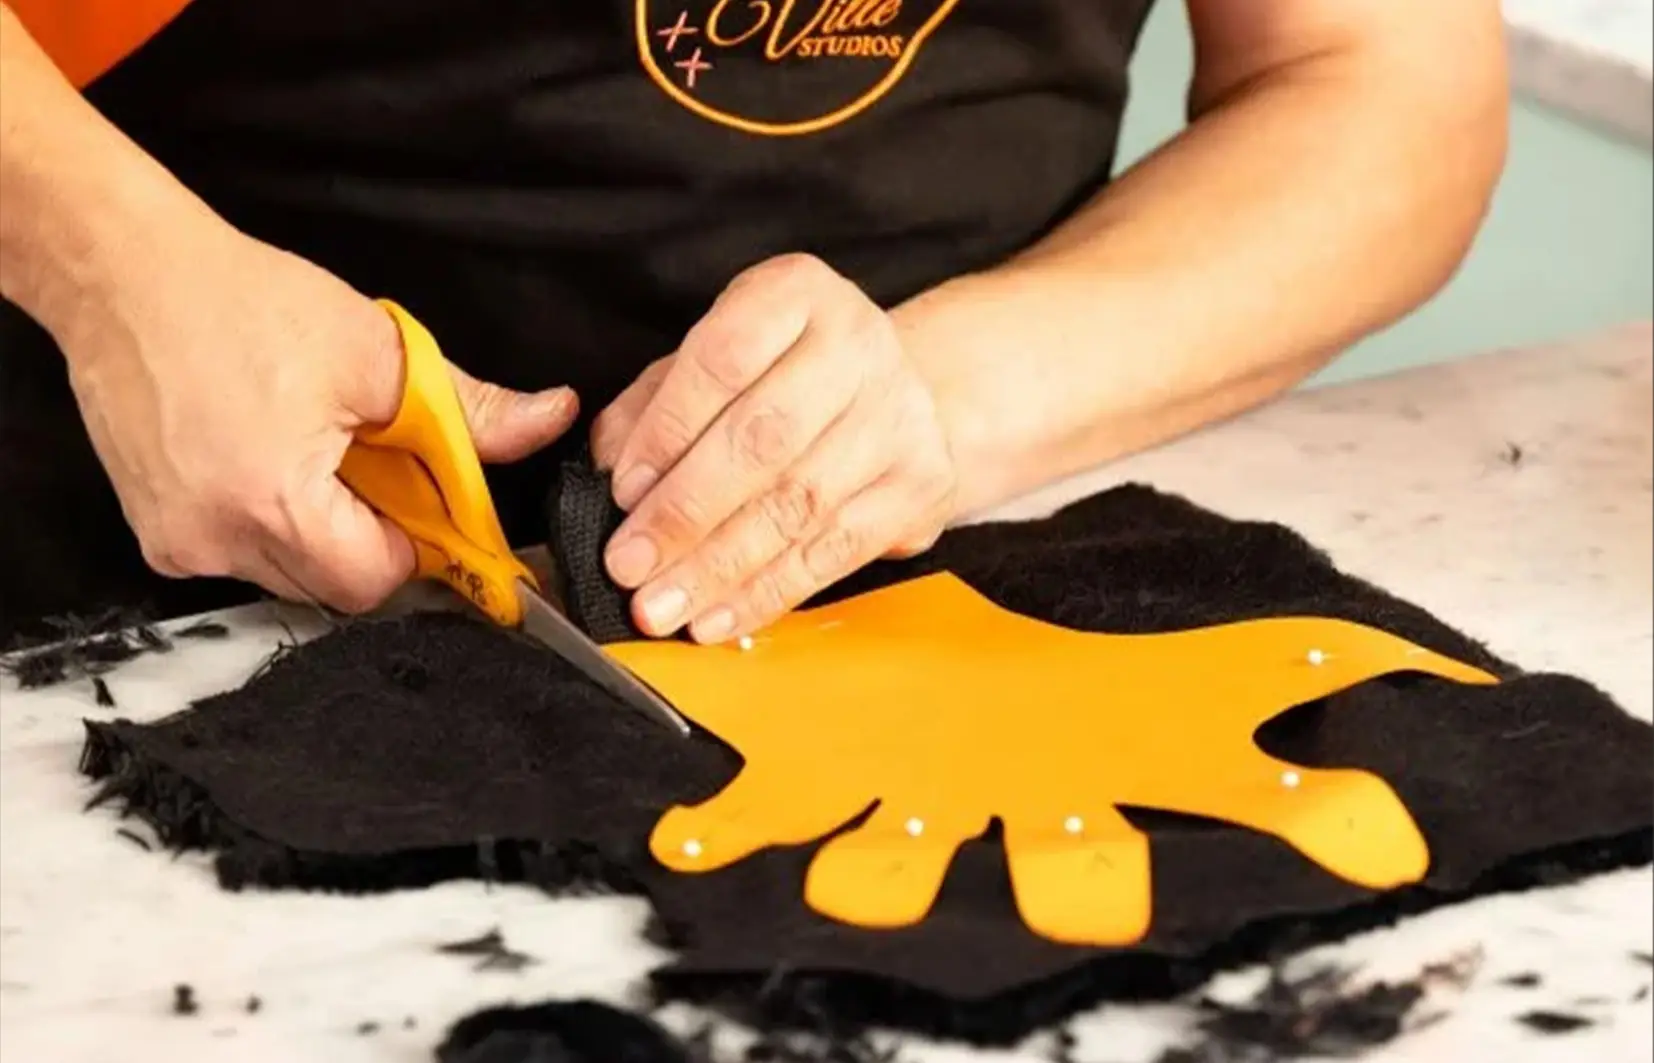
PHOTO: HGTV Handmade/Youtube
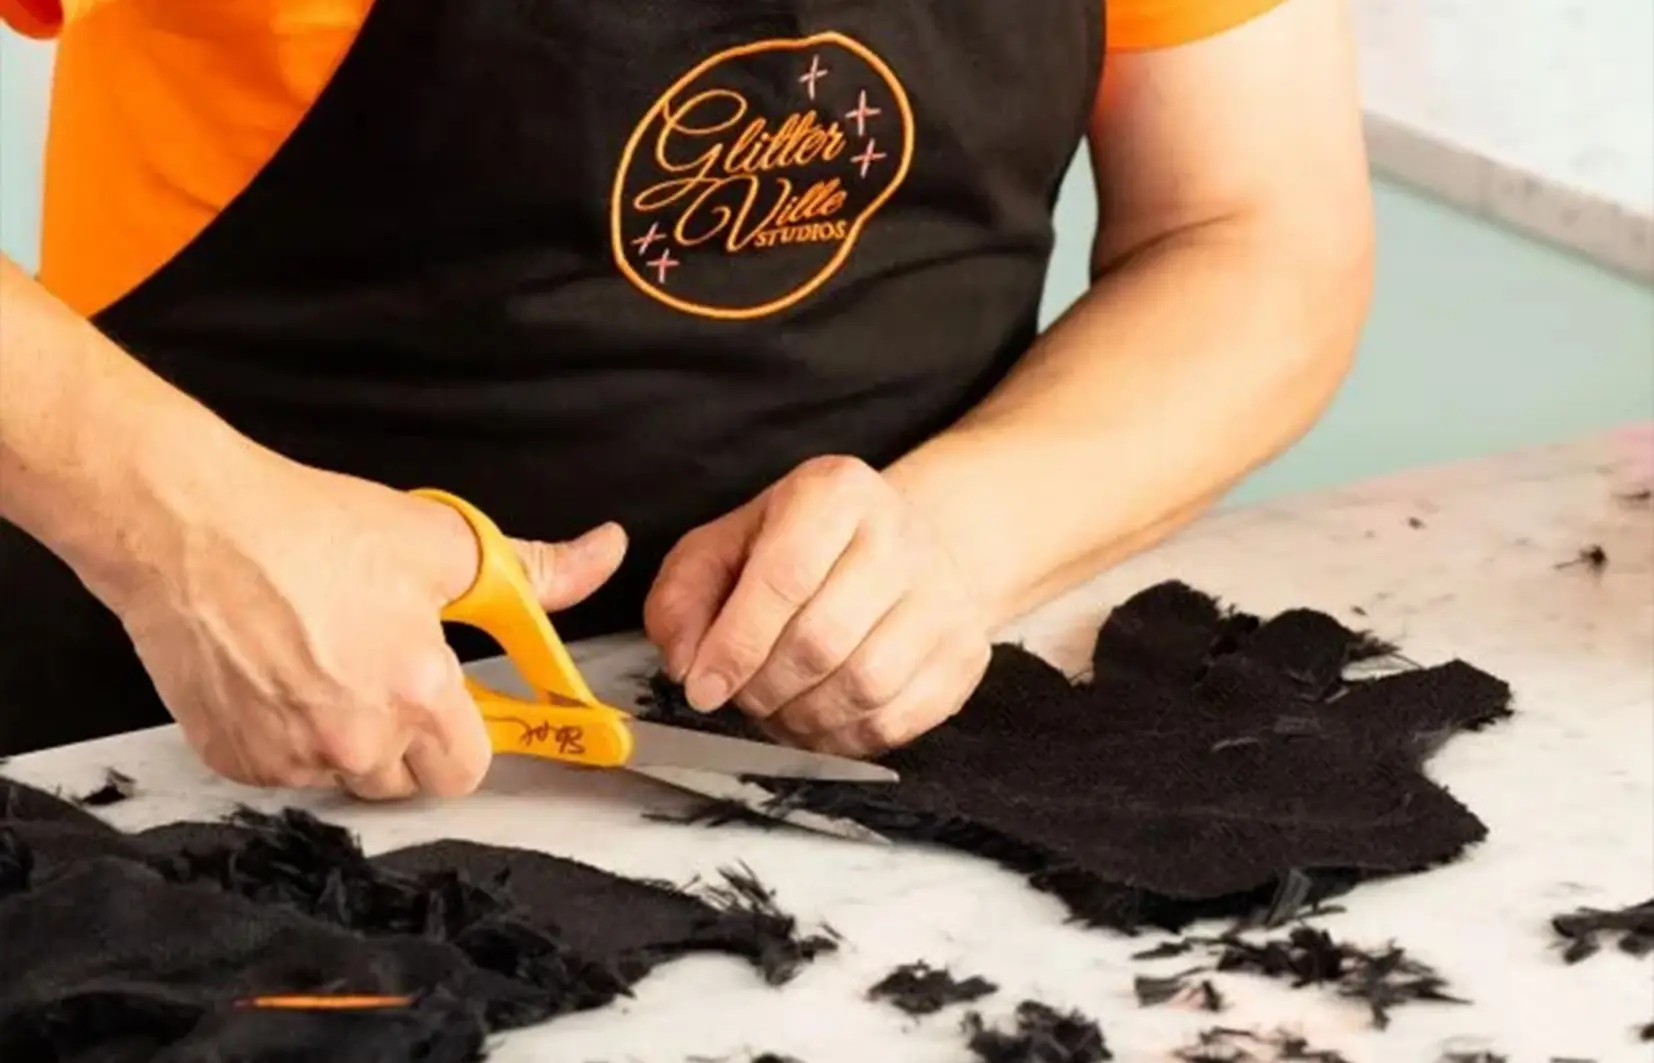
PHOTO: HGTV Handmade/Youtube
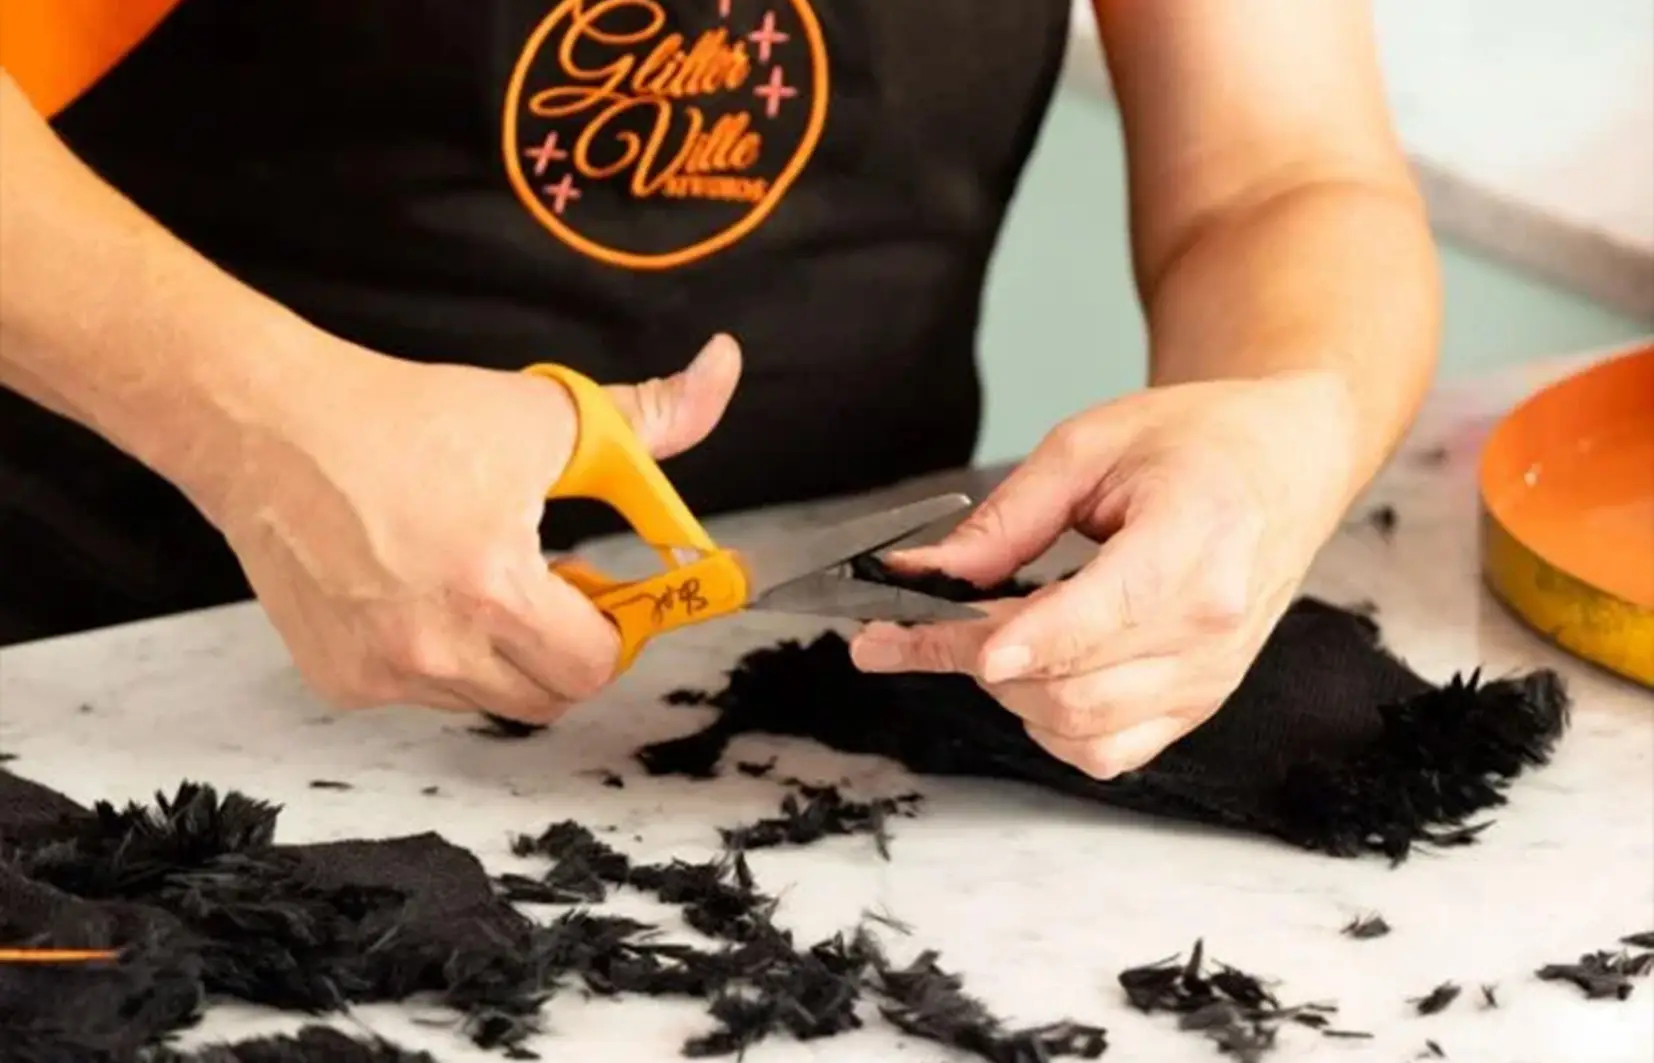
PHOTO: HGTV Handmade/Youtube
Step 3: Cut Out Your Second Glove Piece
Now, turn the template over and pin it to another section of fur fabric. Cut out this second piece of fabric just as you did the first one. You'll now have two mirror-image pieces that will form your glove. Again, be sure to remove any loose fur from the edges of the fabric.
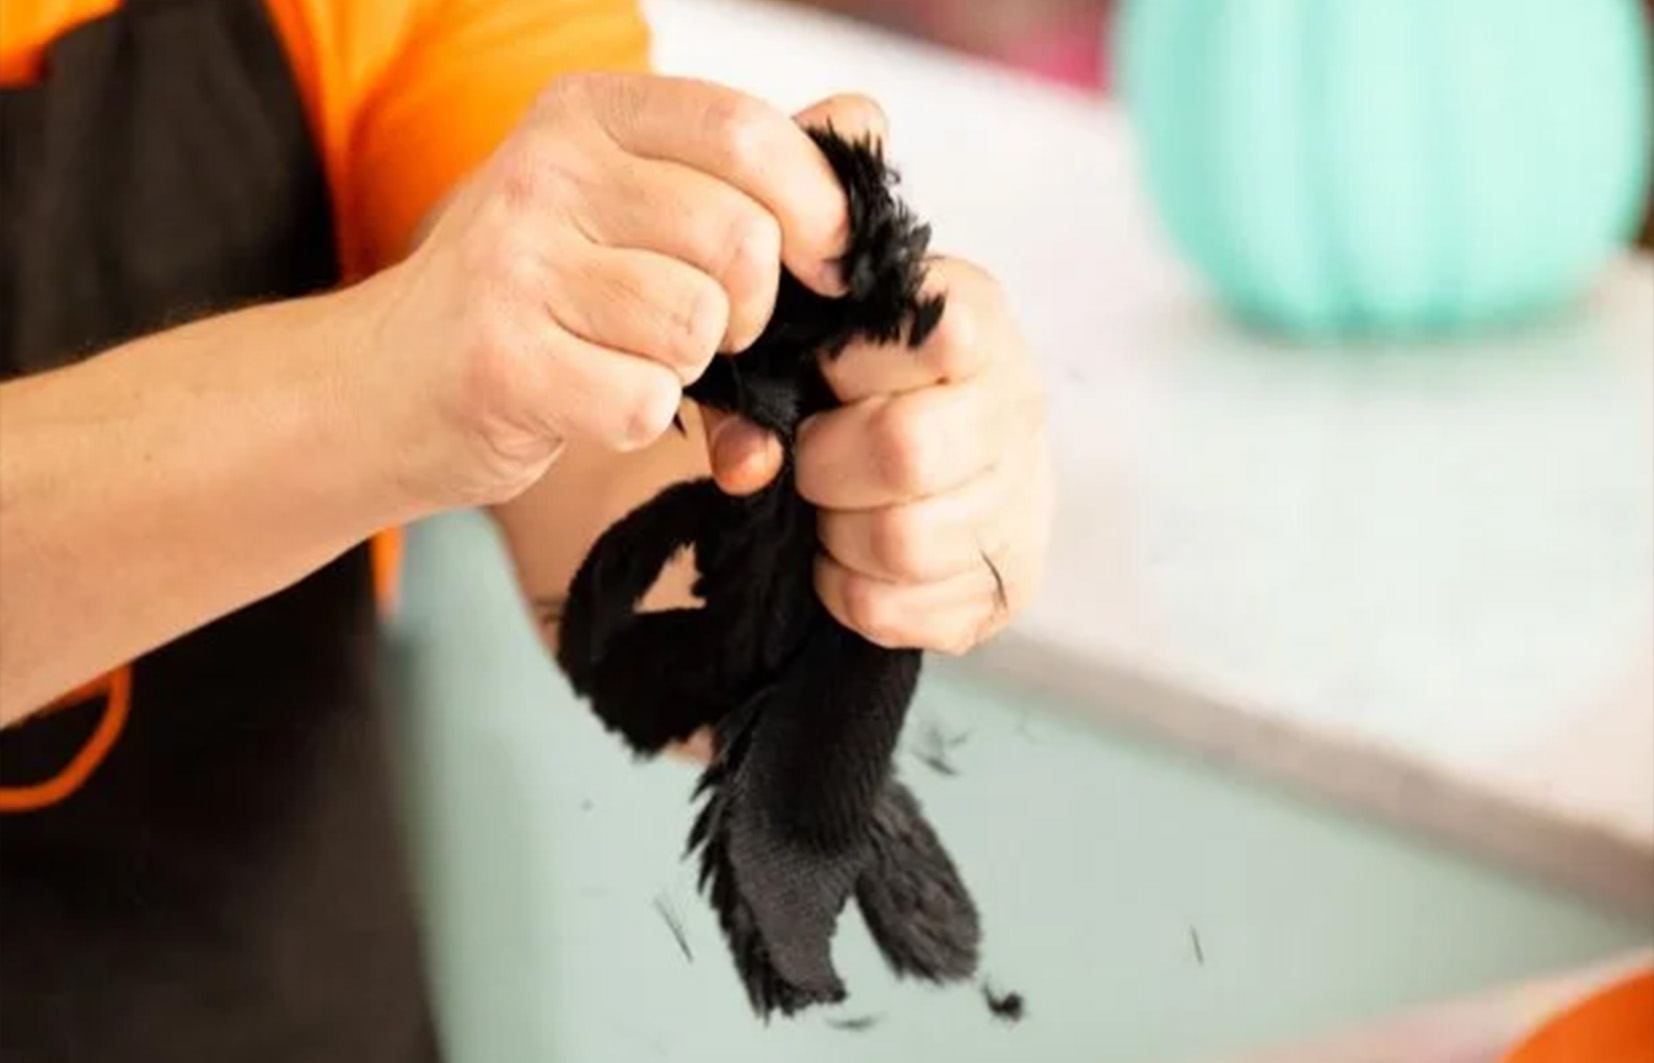
PHOTO: HGTV Handmade/Youtube
Step 4: Prepare the Glove Pieces for Sewing
To keep things neat, pull the glove pieces through your fist to shake off any loose fur before you begin sewing. This will ensure you have clean edges to work with as you move forward.

PHOTO: HGTV Handmade/Youtube
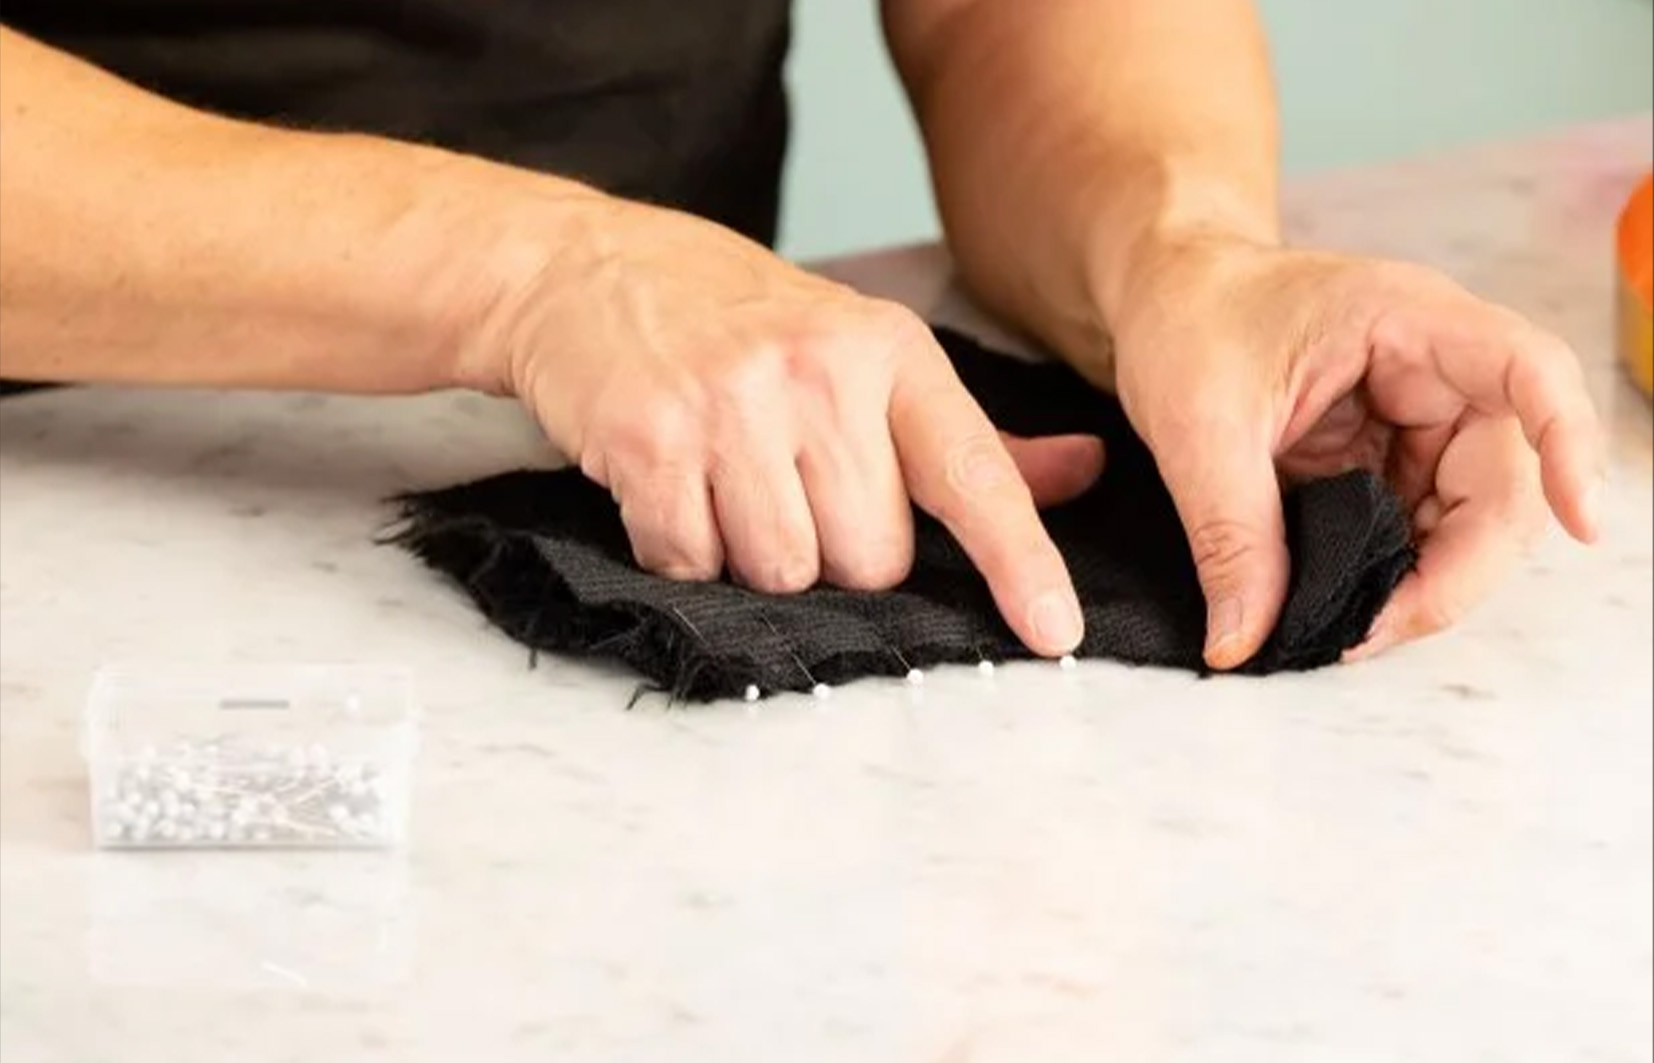
PHOTO: HGTV Handmade/Youtube
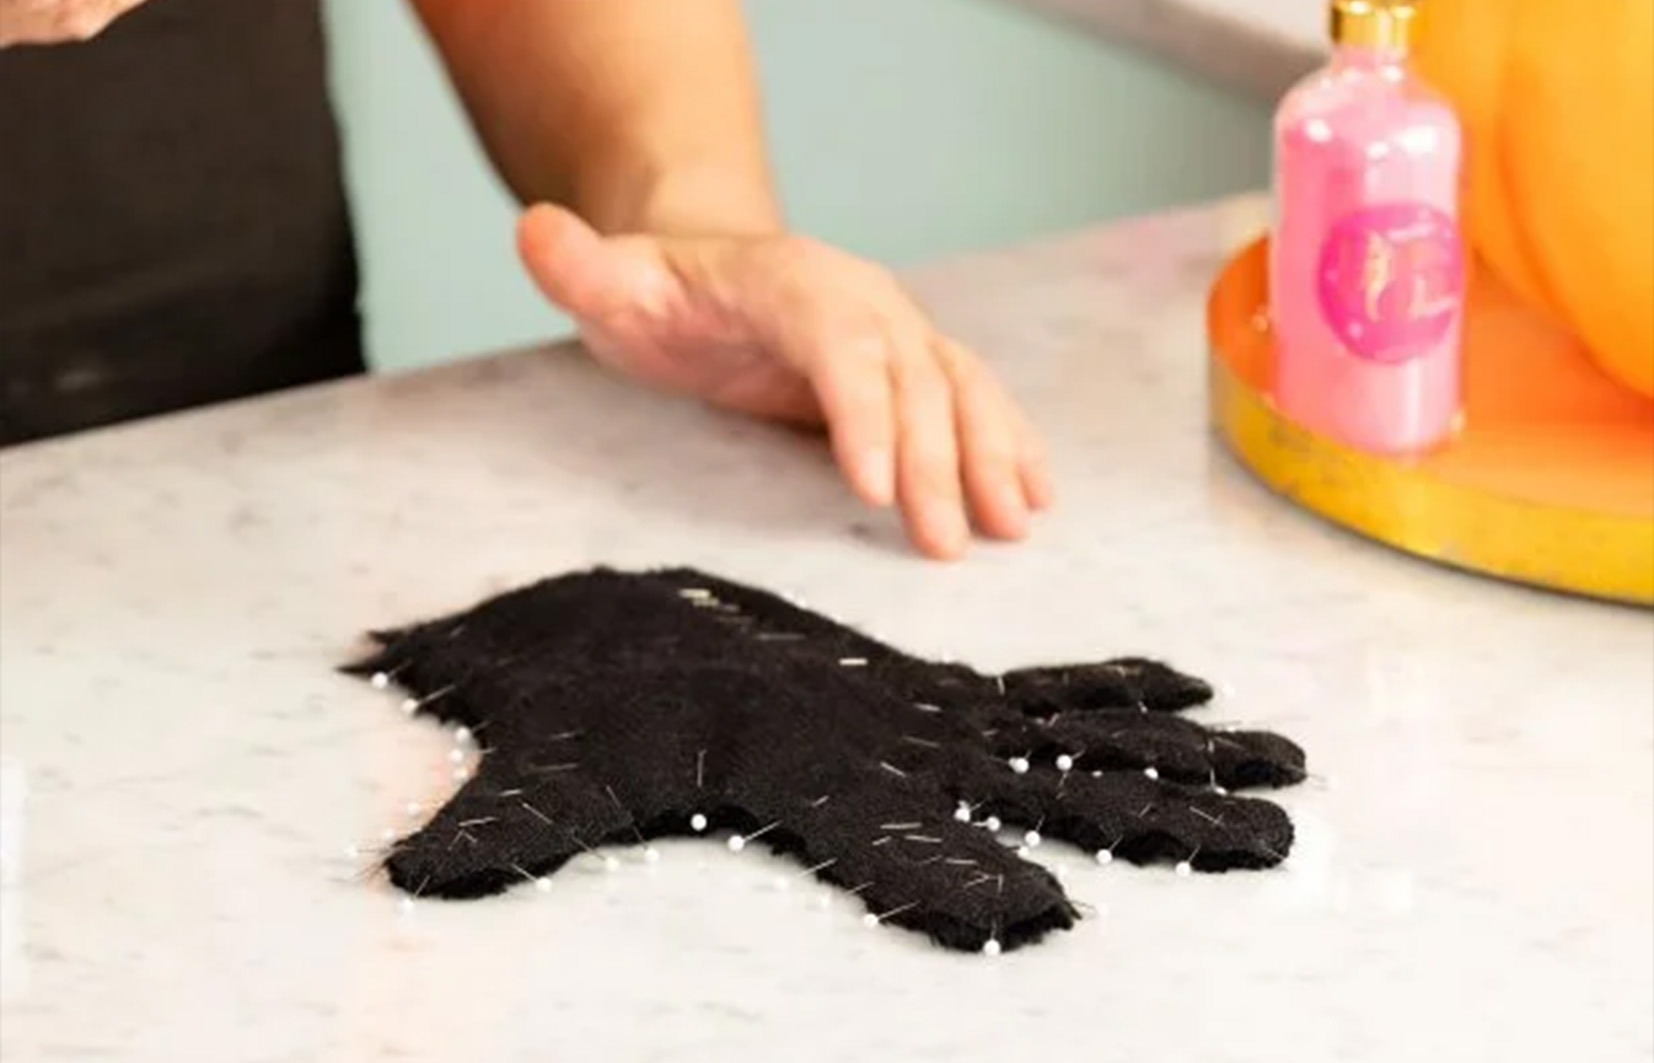
PHOTO: HGTV Handmade/Youtube
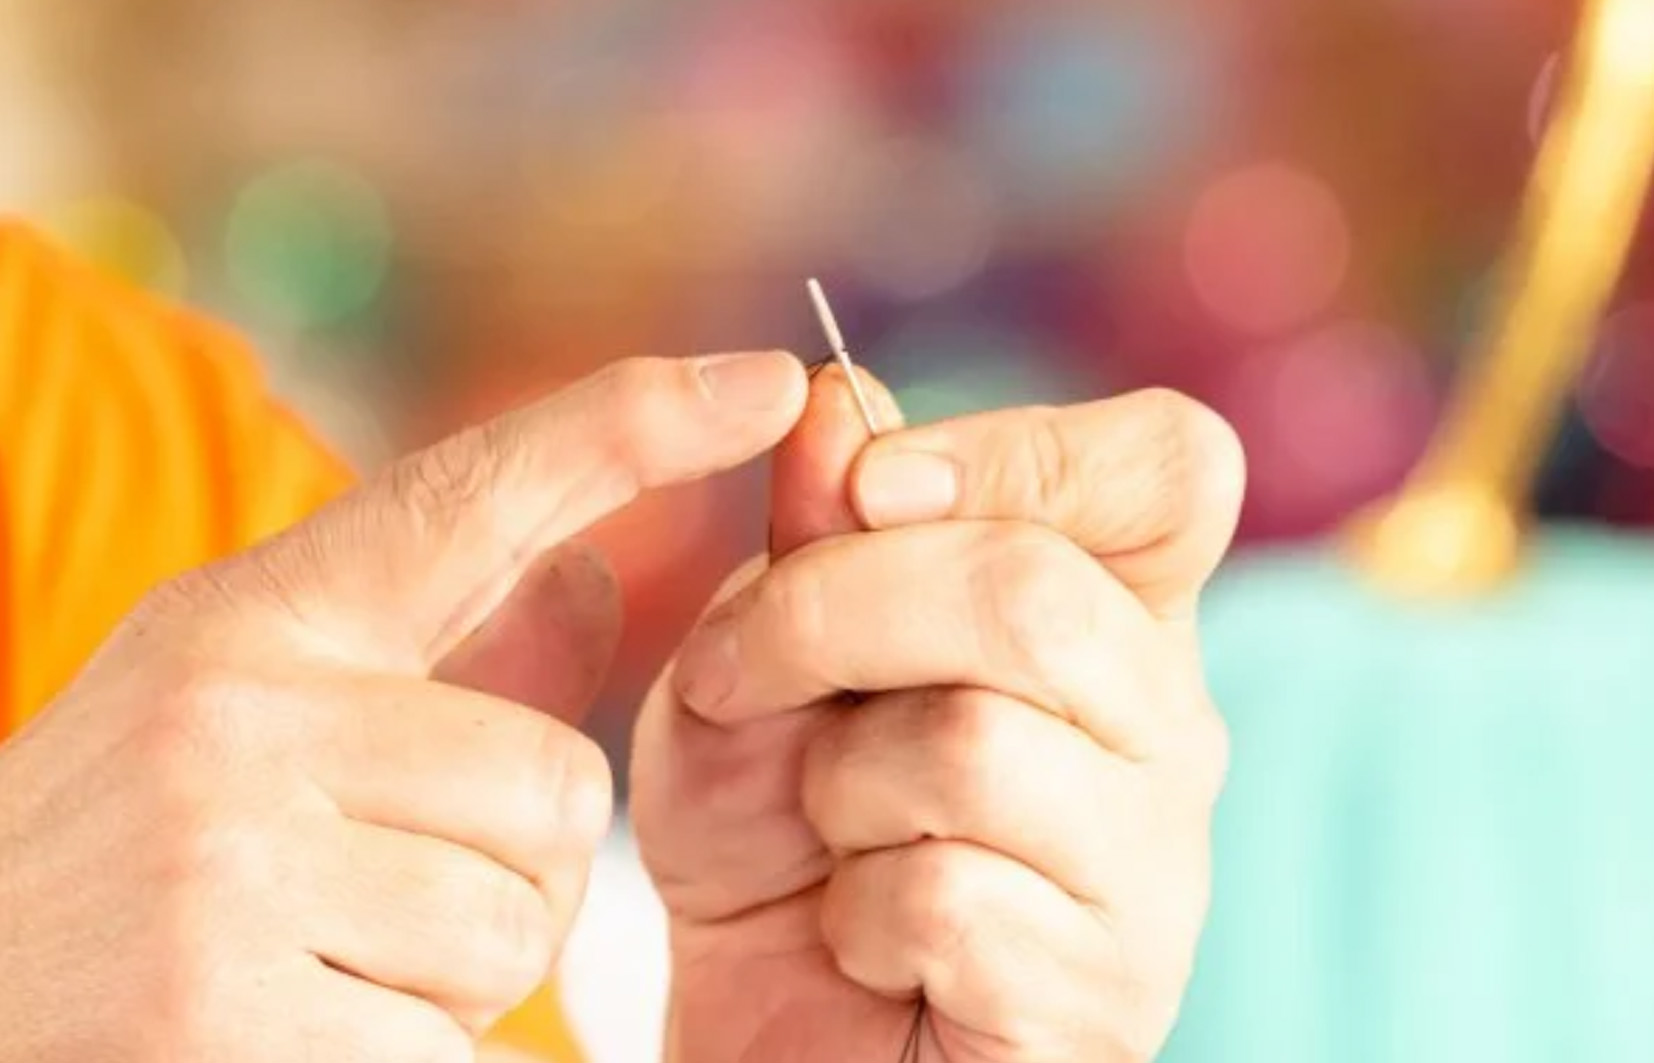
PHOTO: HGTV Handmade/Youtube
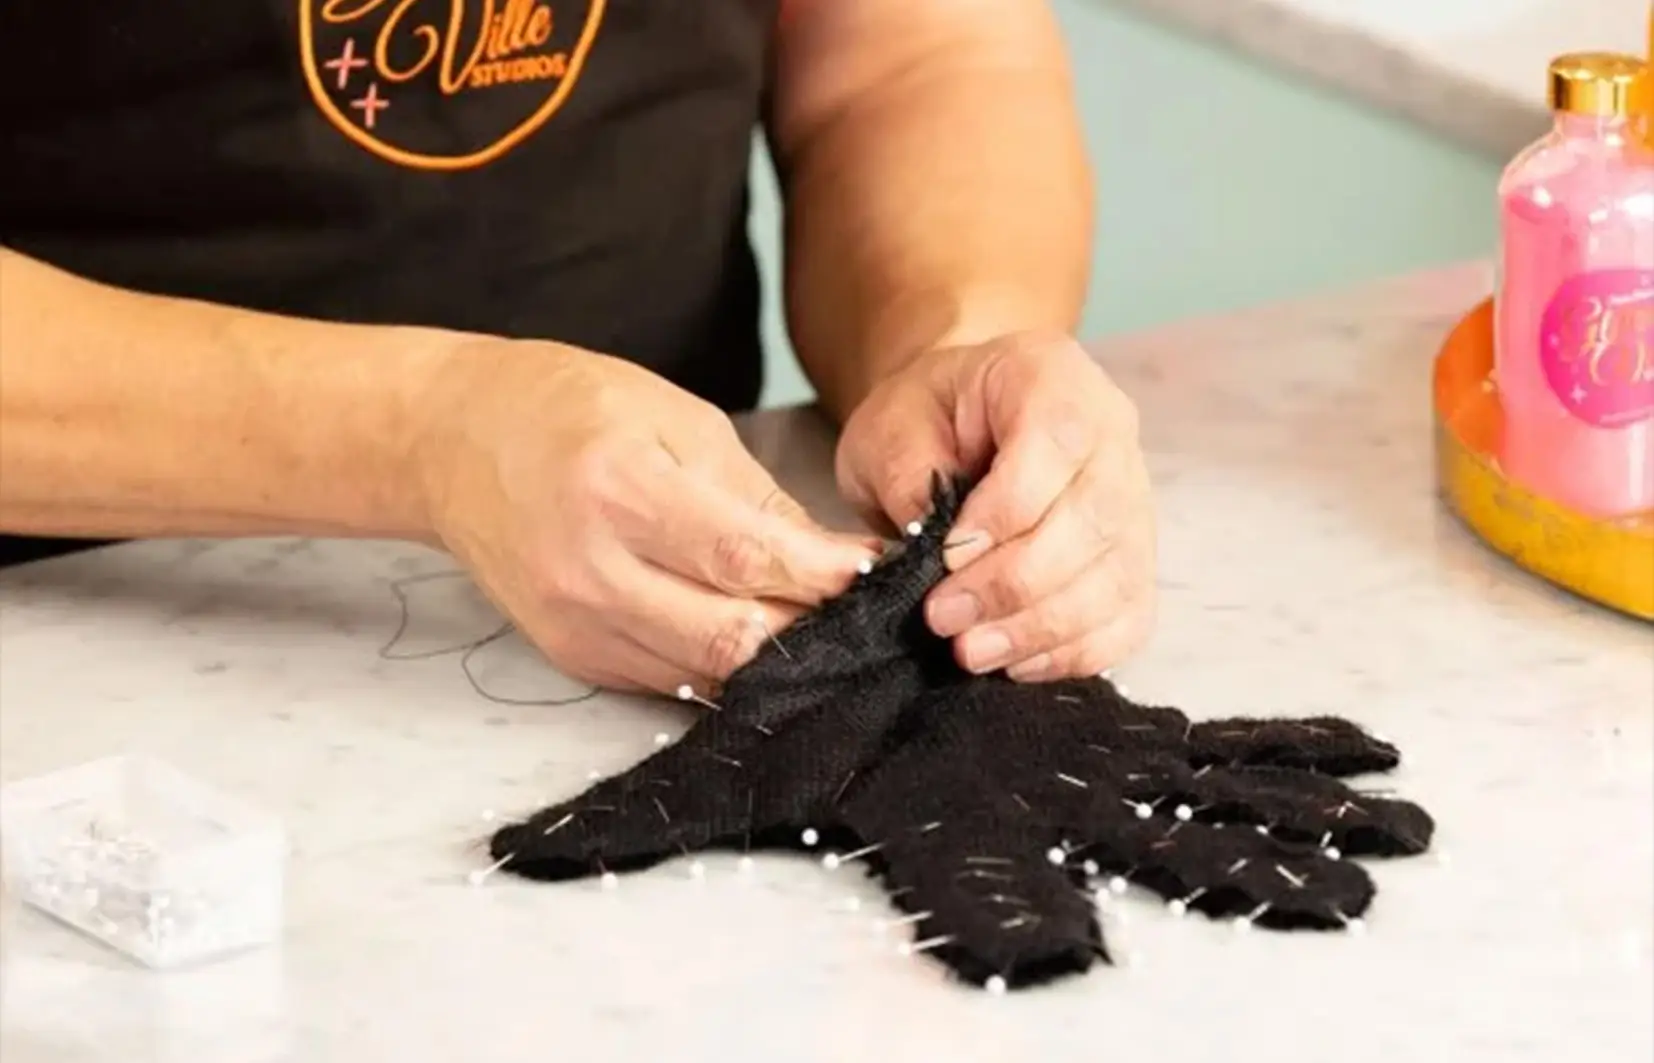
PHOTO: HGTV Handmade/Youtube
Step 5: Pin and Sew the Glove Pieces Together
With the furry sides of both pieces facing inward (toward each other), pin the two pieces together with straight pins. Be generous with the pins, especially around the fingers, to keep the fabric in place while you sew. Using a large embroidery needle and black buttonhole thread, stitch around the edges using an overstitch. Be sure to leave the bottom of the glove open, so you can turn it right side out and wear it when you're finished.
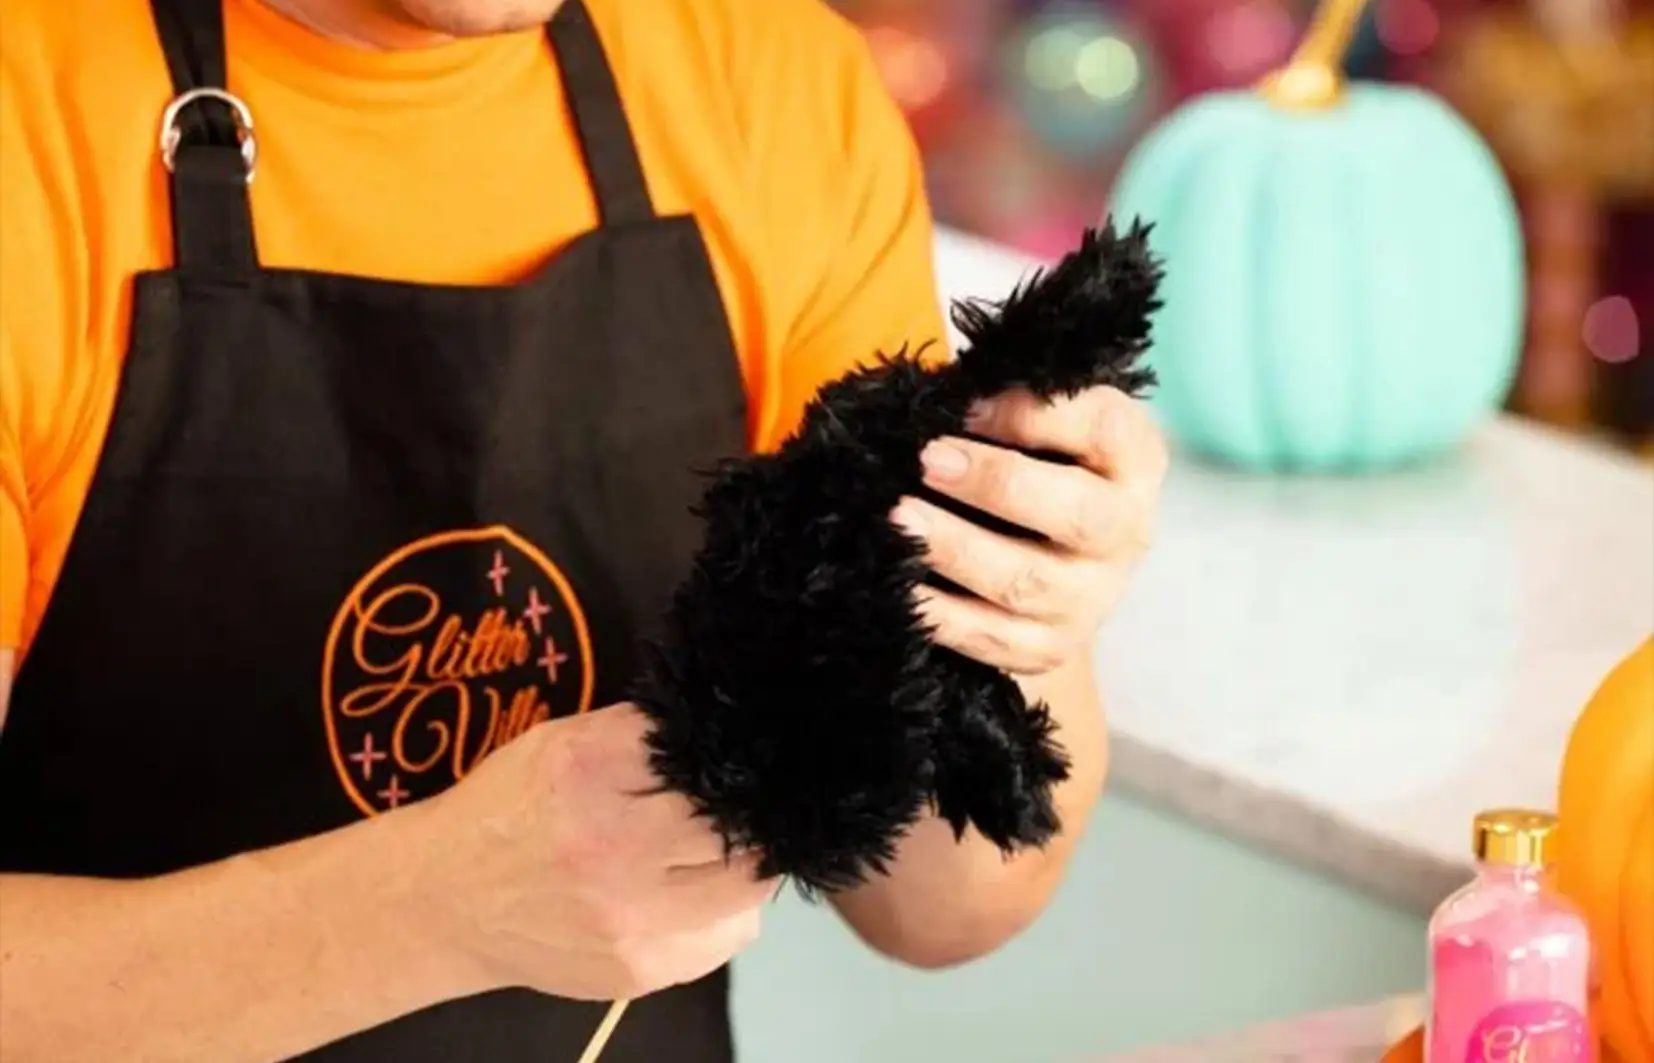
PHOTO: HGTV Handmade/Youtube
Step 6: Turn the Glove Right Side Out
Once the glove is sewn together, turn it right side out, using a kitchen skewer to push the fingers all the way through. The fur should now be on the outside, and the glove is taking shape.
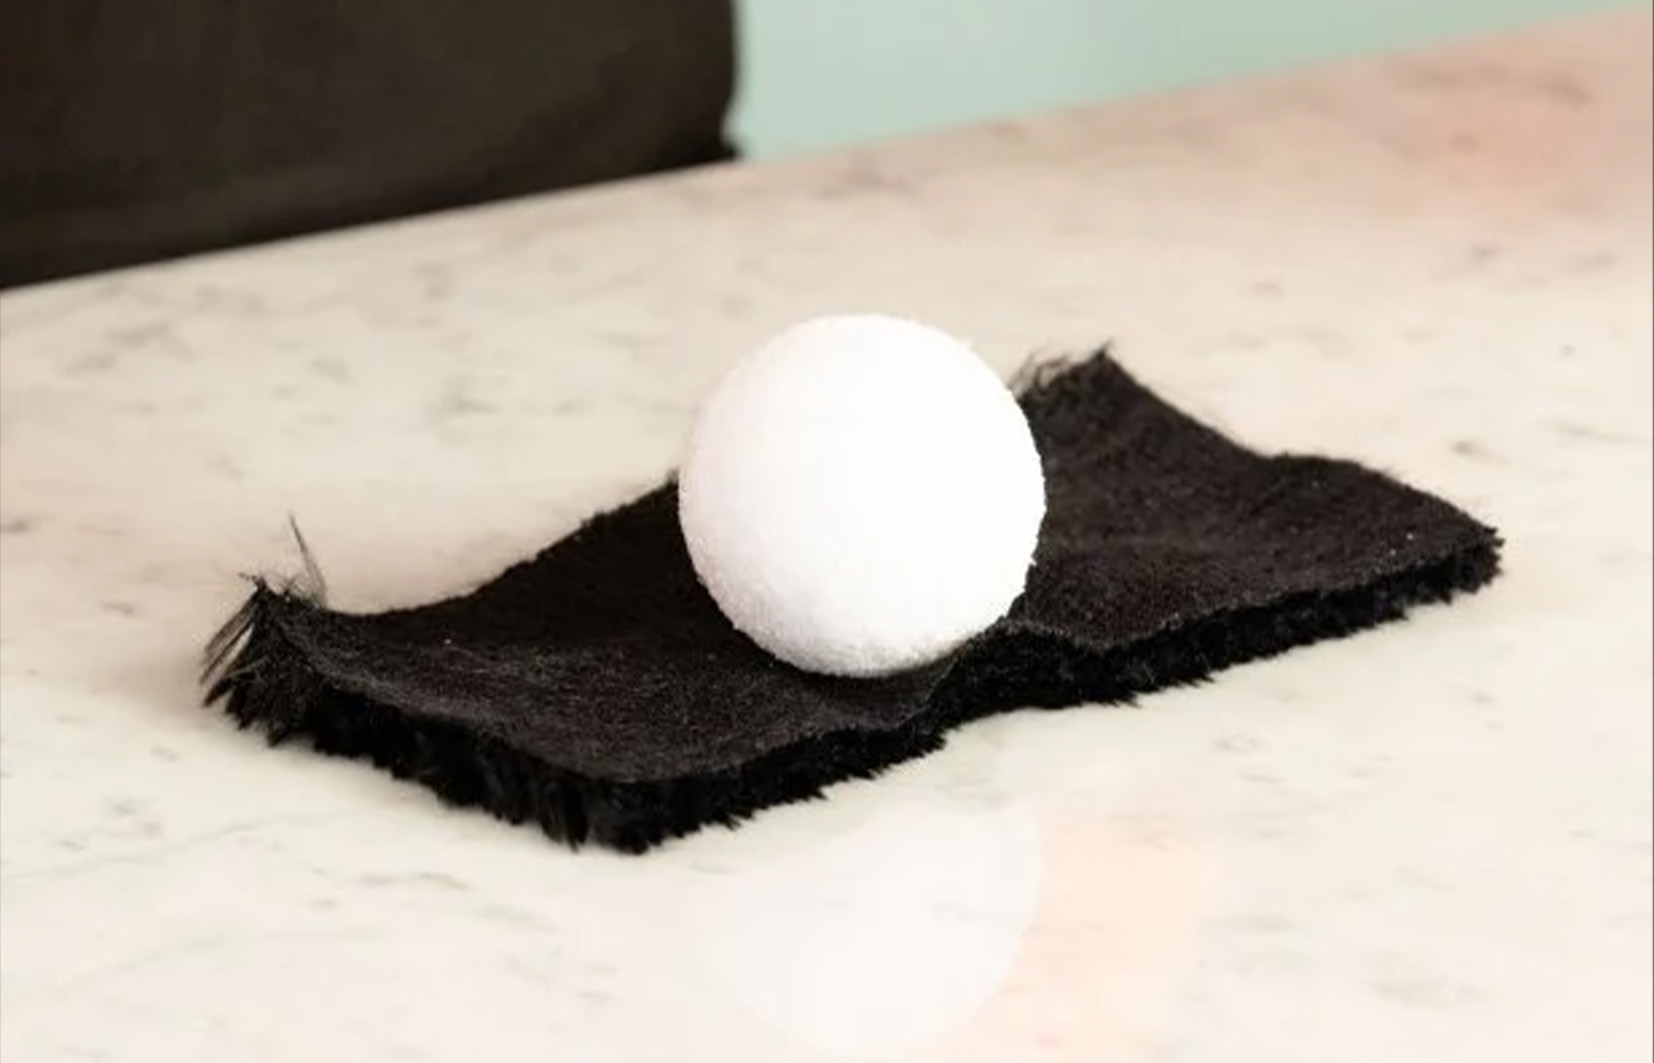
PHOTO: HGTV Handmade/Youtube
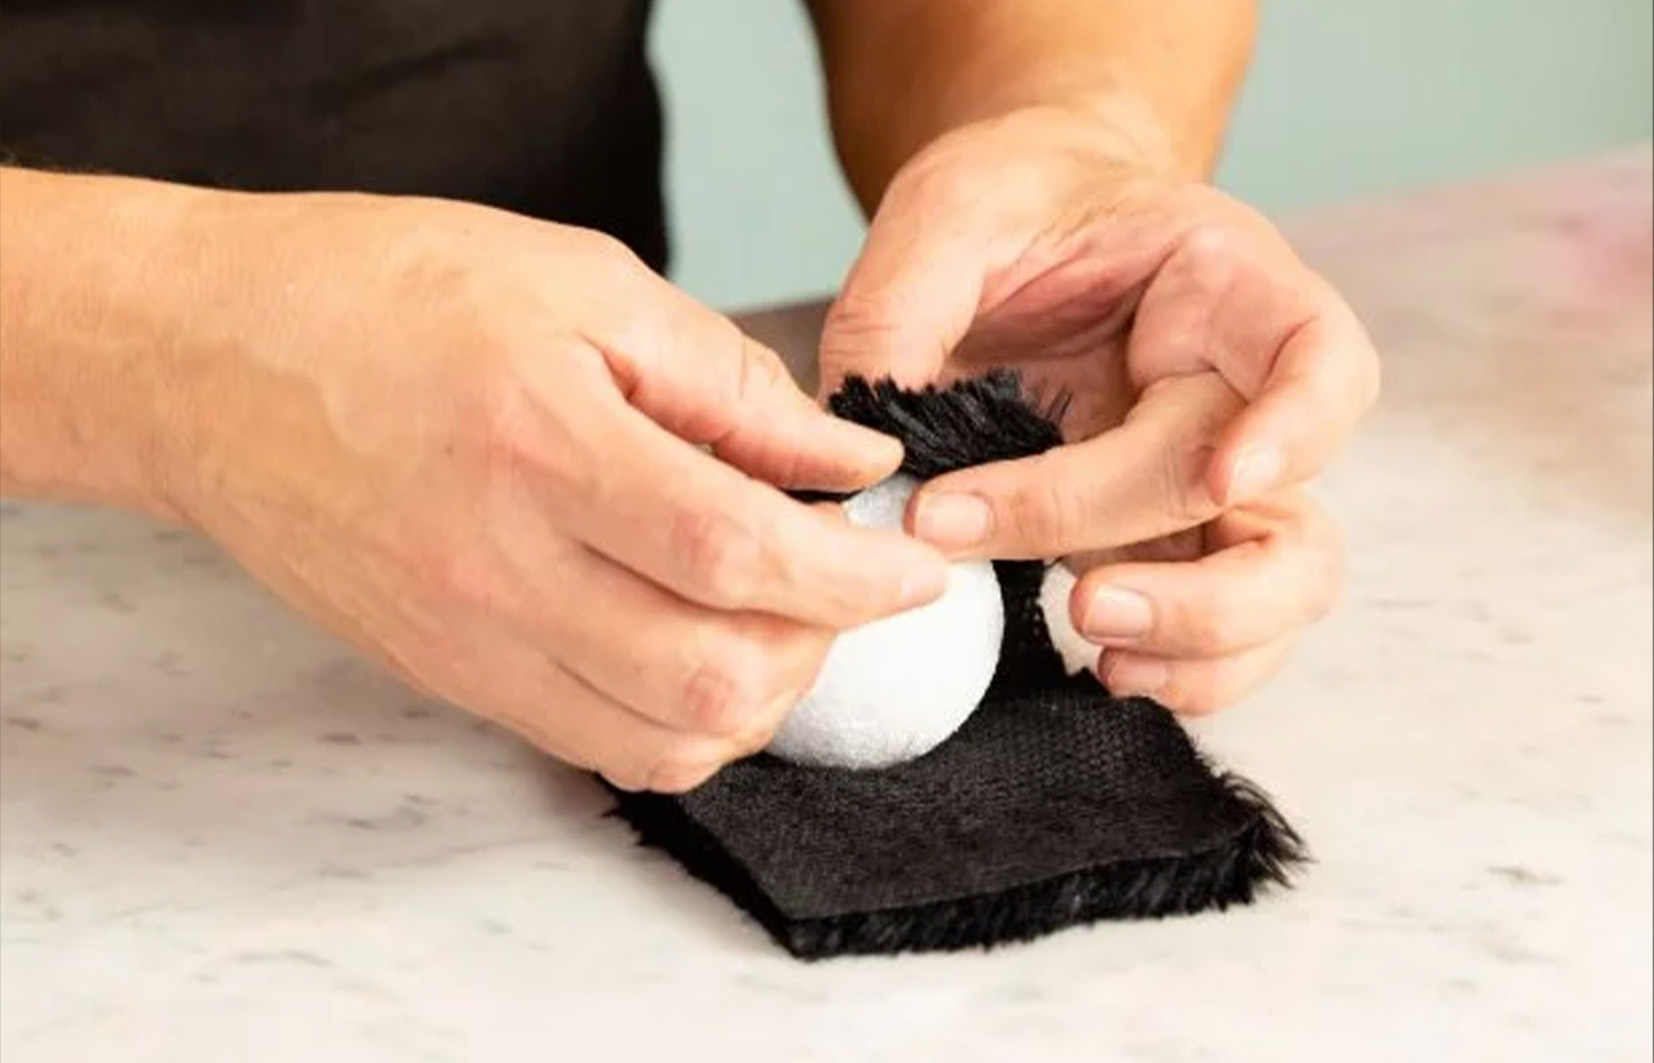
PHOTO: HGTV Handmade/Youtube
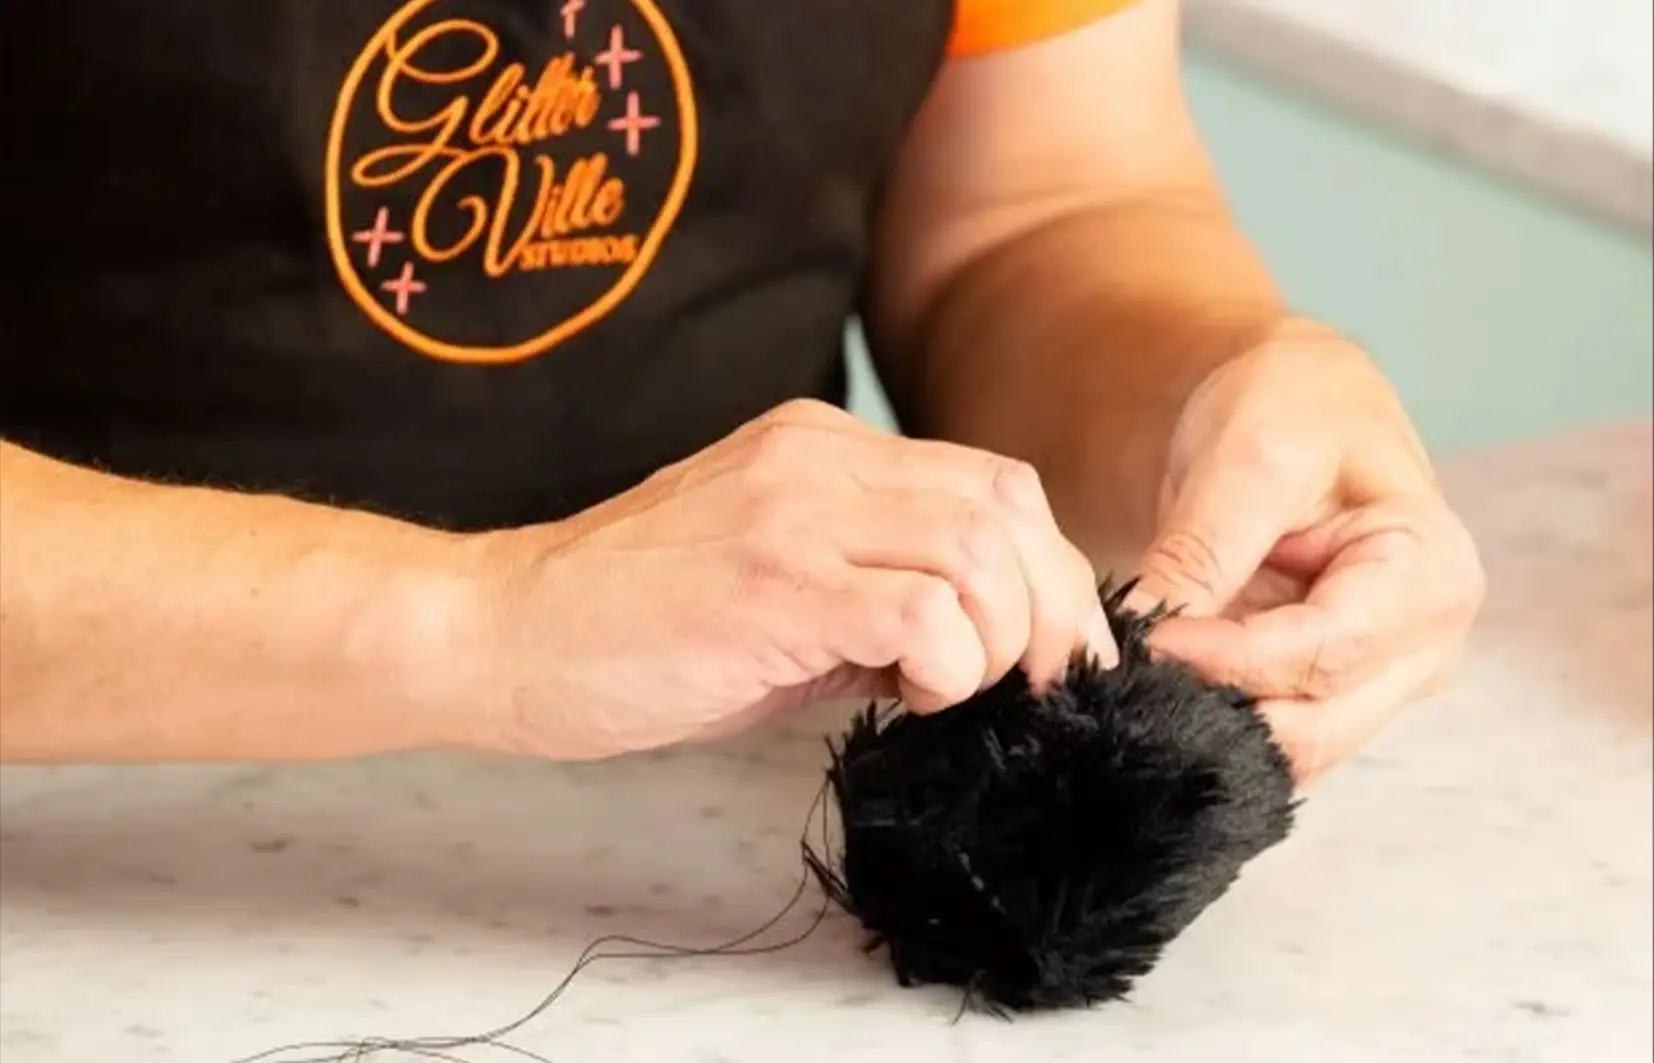
PHOTO: HGTV Handmade/Youtube
Step 7: Make the Spider Head
To create the spider’s head, cut an 8-1/4" by 4-1/2" piece of fur fabric. Wrap it around a 2.5-inch styrofoam ball, securing the fabric with a straight pin. Sew the fabric together along the short side of the rectangle. To close the ends, use a gathering stitch, pulling it tight and knotting it in place. Repeat this process for both ends, so the head is completely closed.
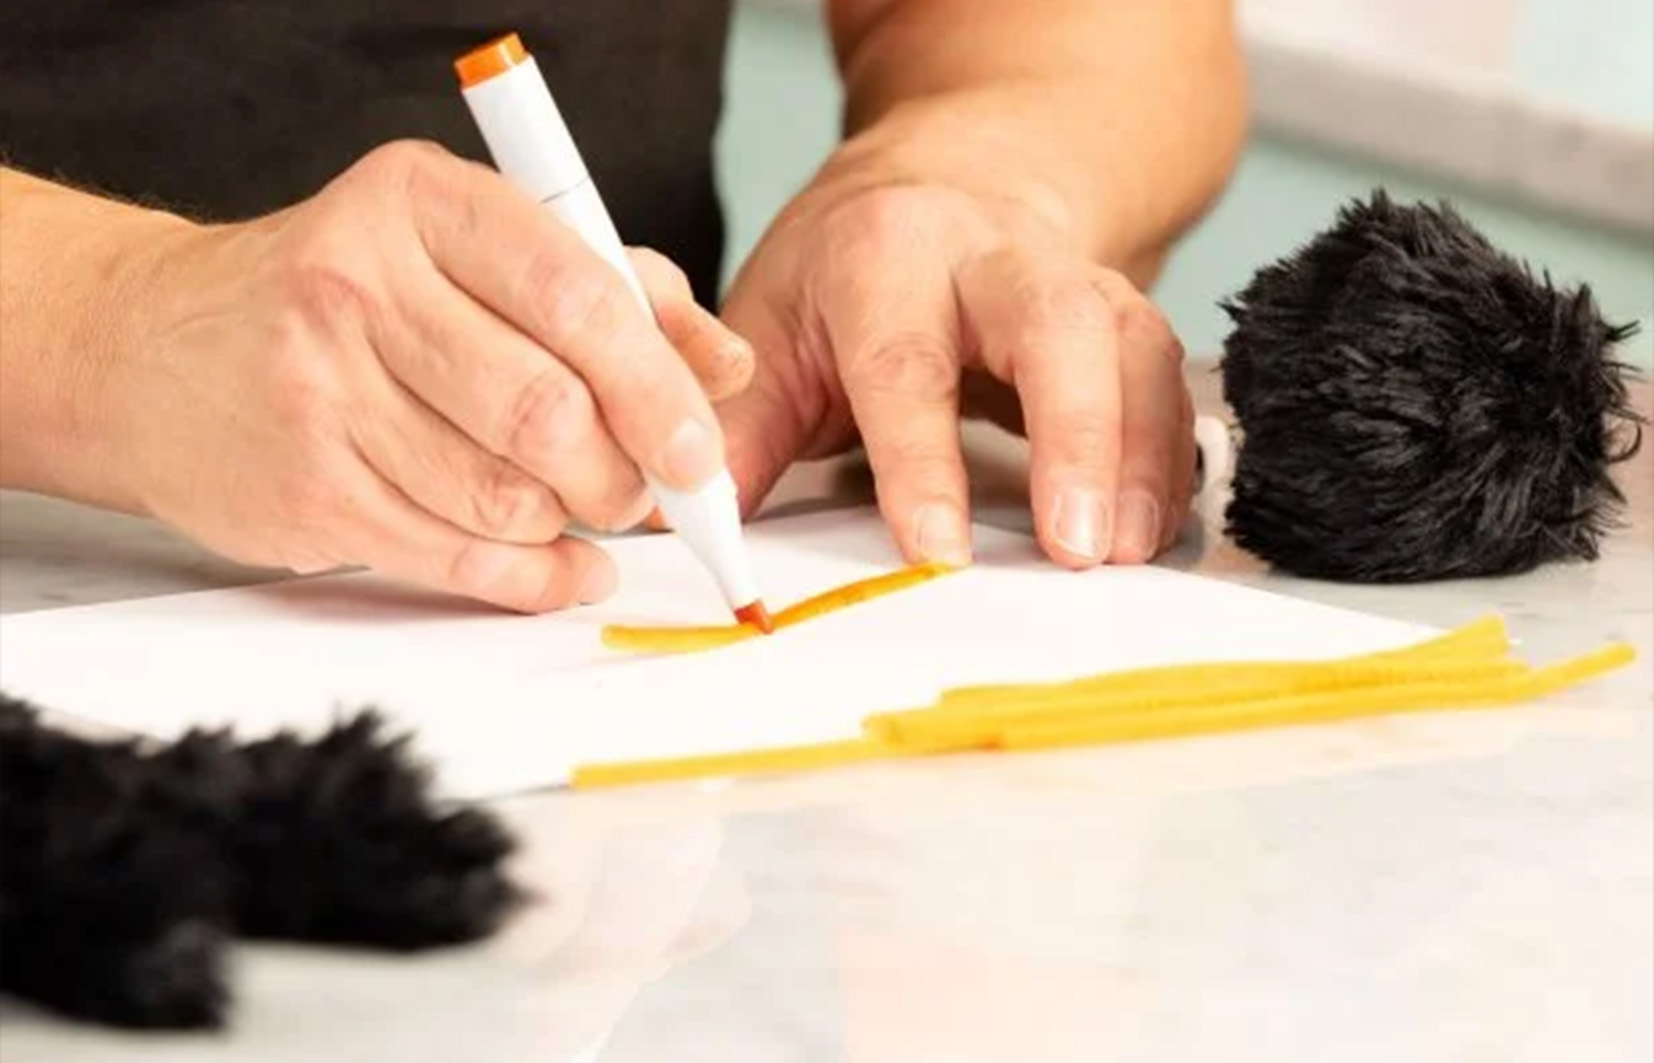
PHOTO: HGTV Handmade/Youtube
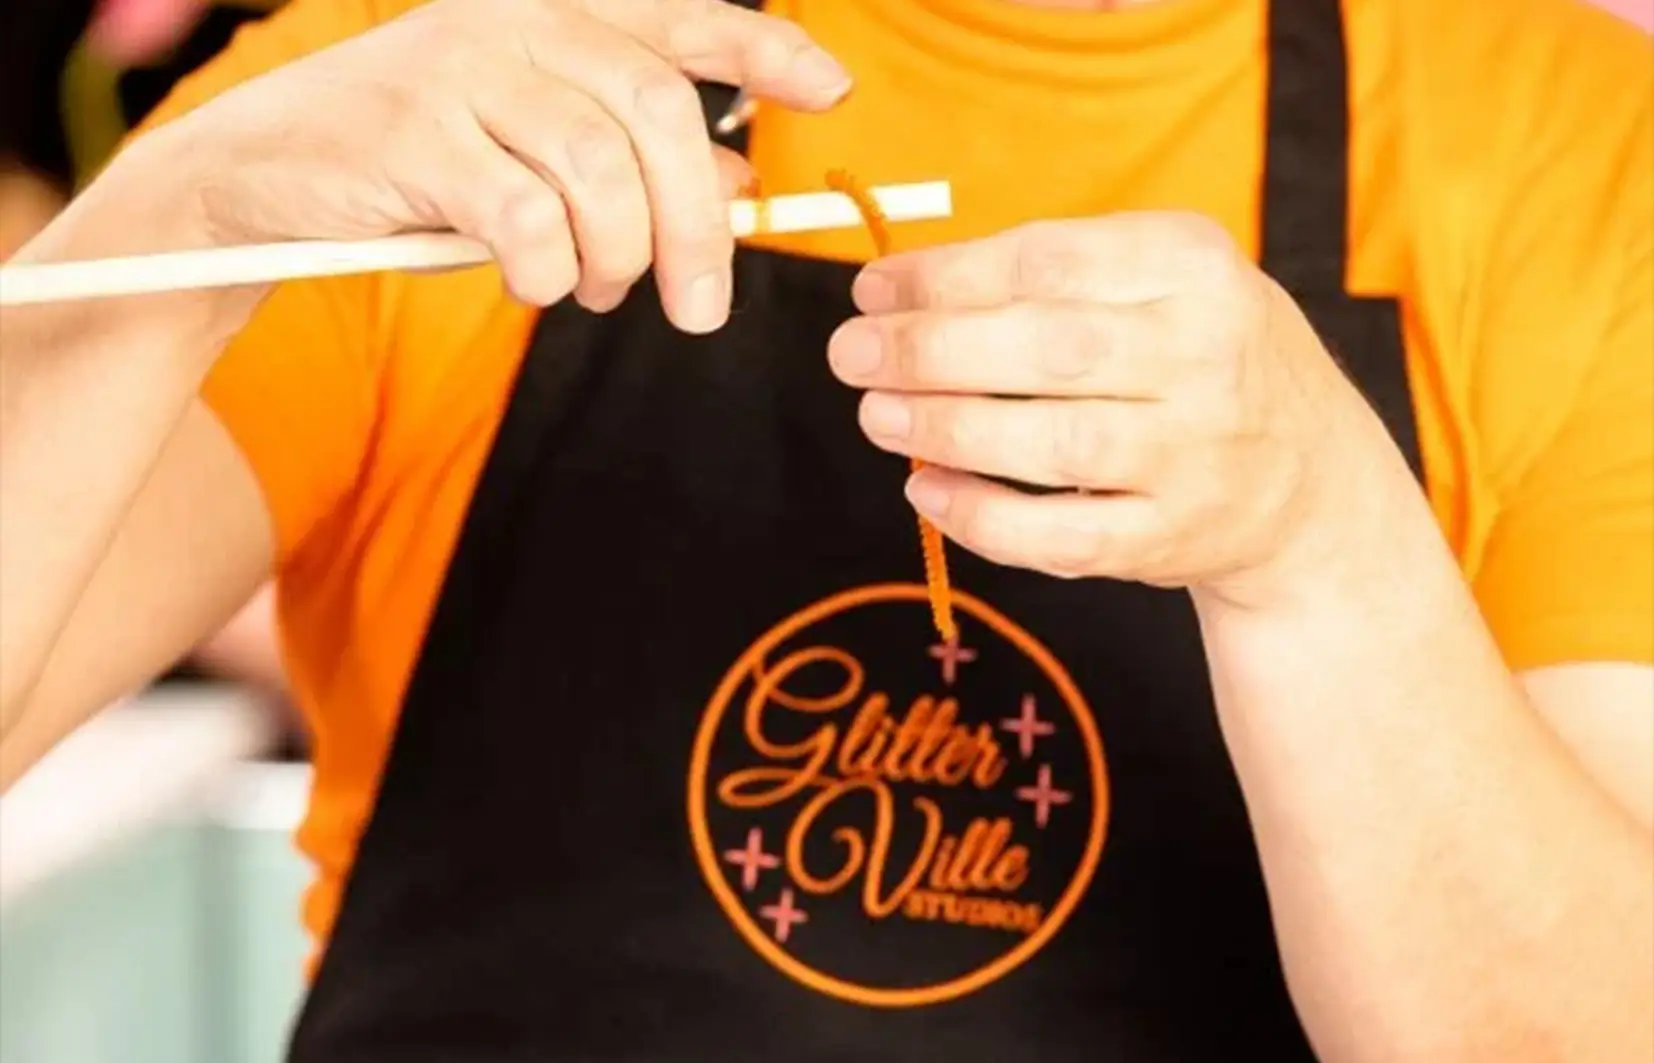
PHOTO: HGTV Handmade/Youtube
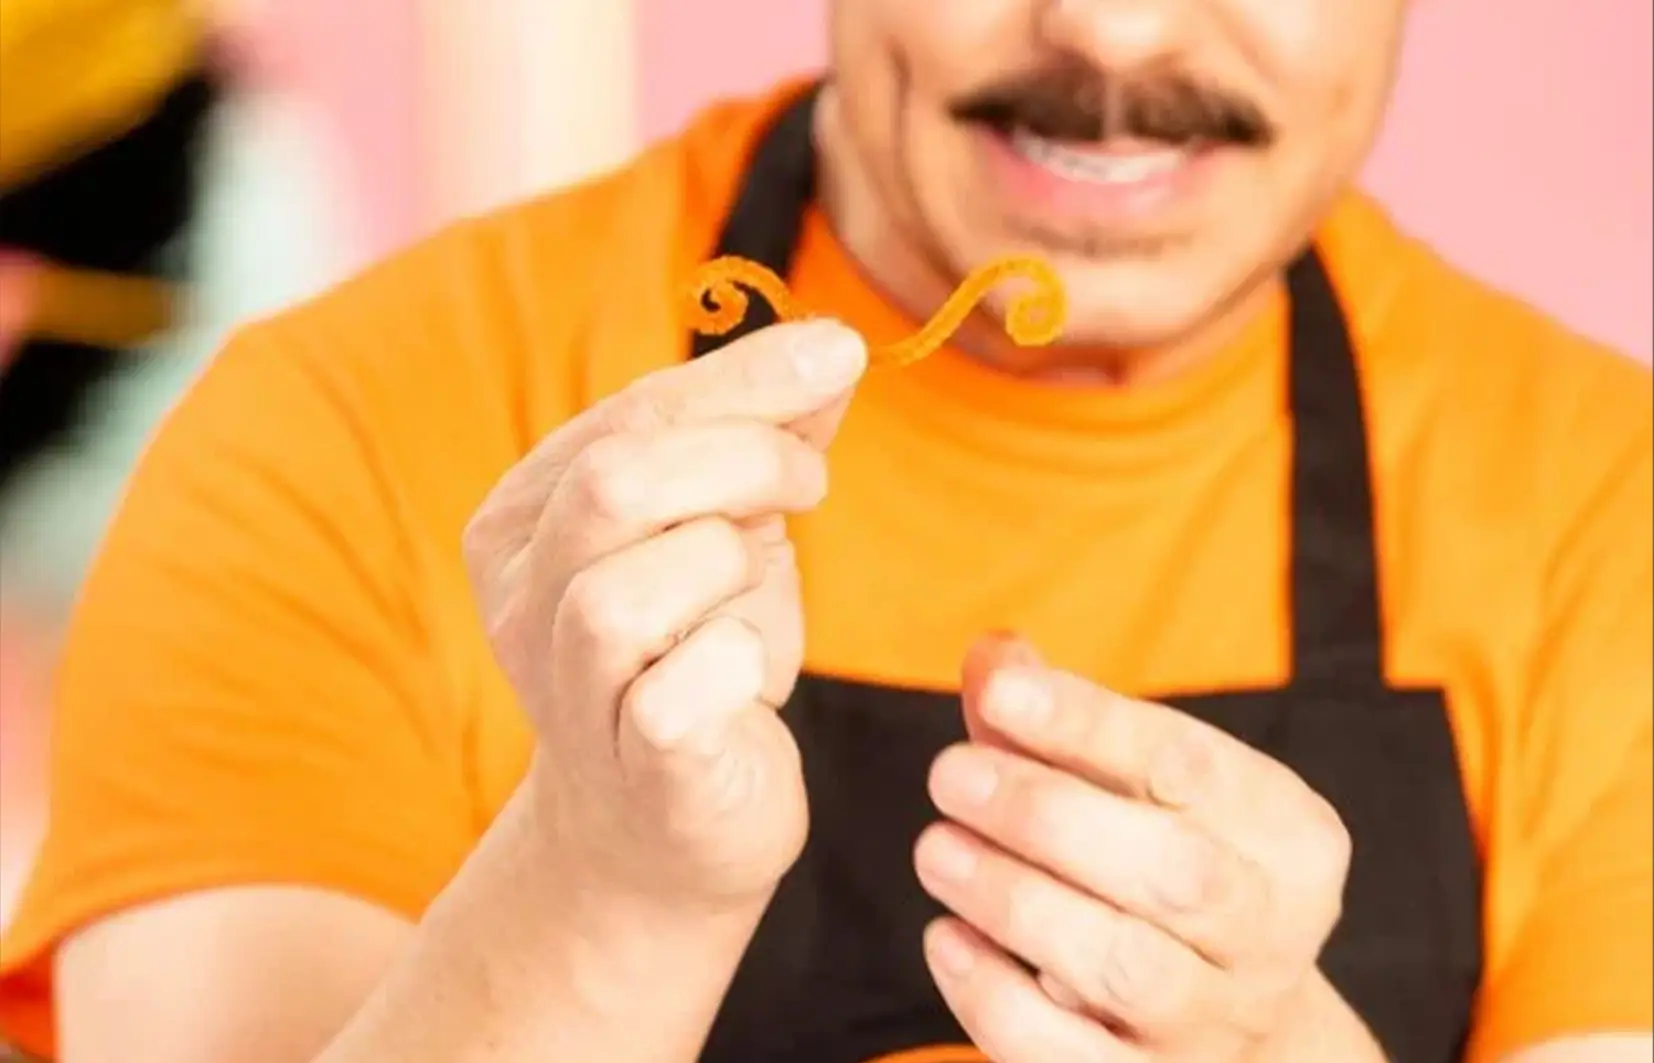
PHOTO: HGTV Handmade/Youtube
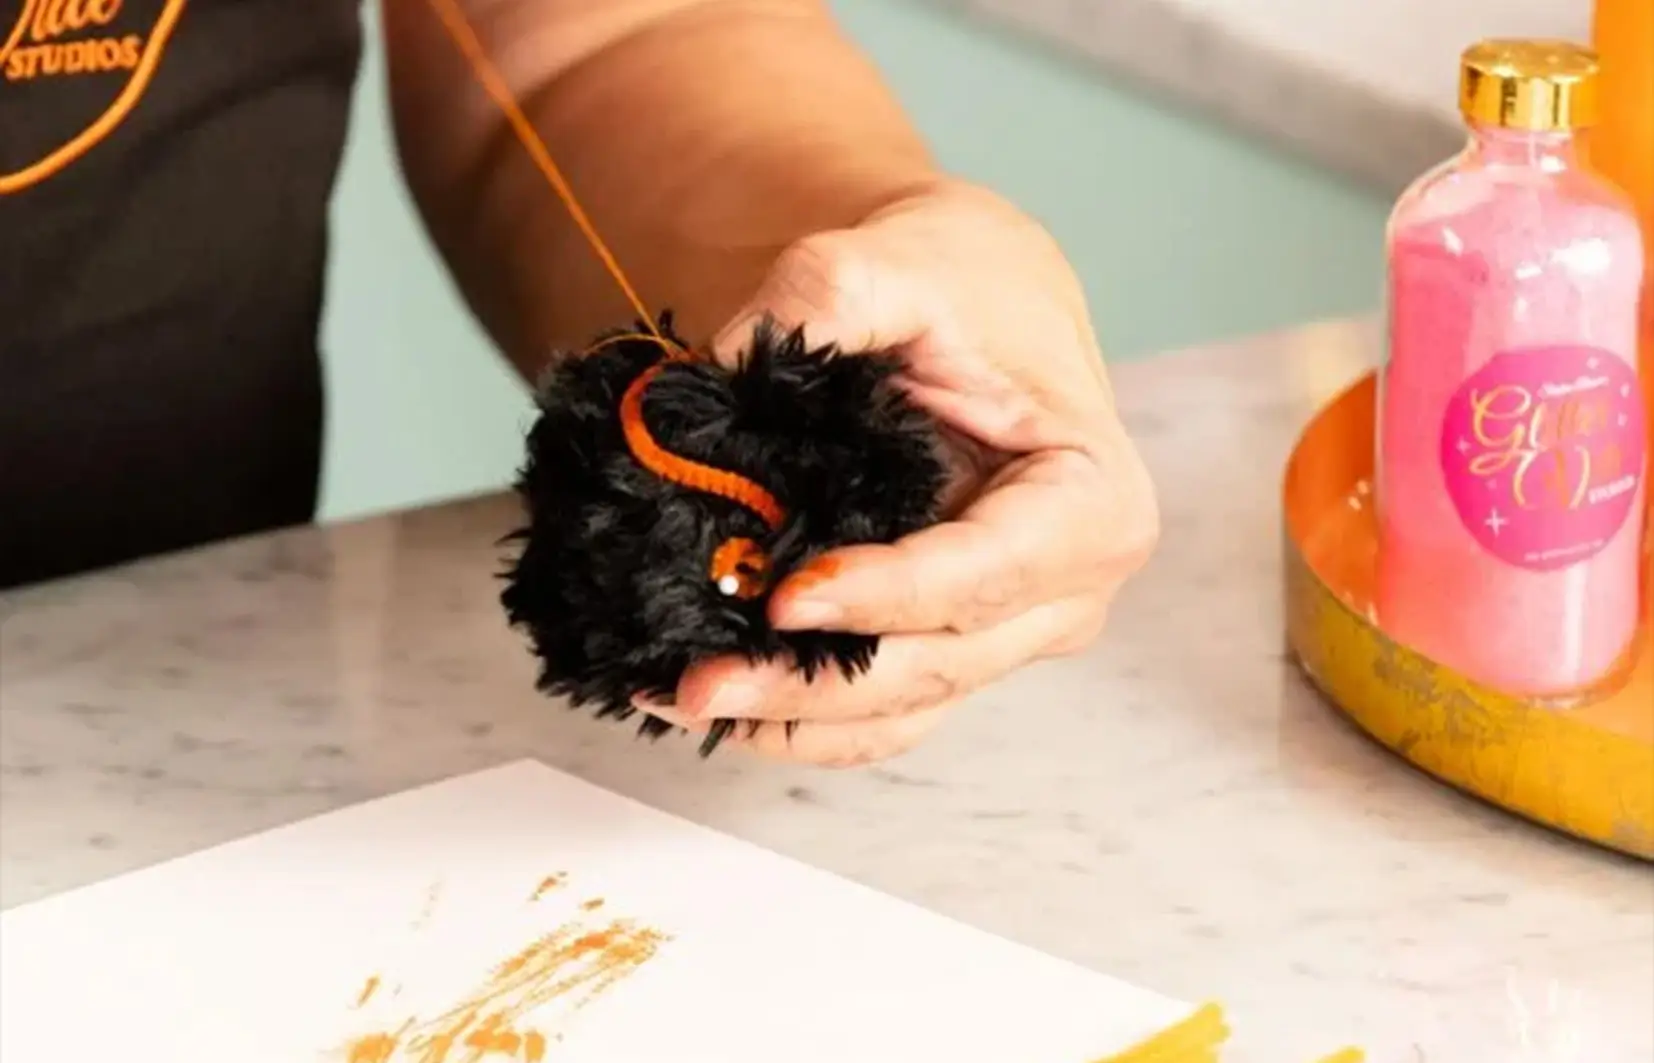
PHOTO: HGTV Handmade/Youtube
Step 8: Create the Spider Mouth
Using a 6-inch piece of orange chenille stem, curl each end and shape it into a smile. If you don’t have an orange chenille stem, you can always color a white one with a marker. Secure the stem to the spider’s head with straight pins, then stitch it in place using orange buttonhole thread. Once secured, trim any fur that may be covering the mouth.
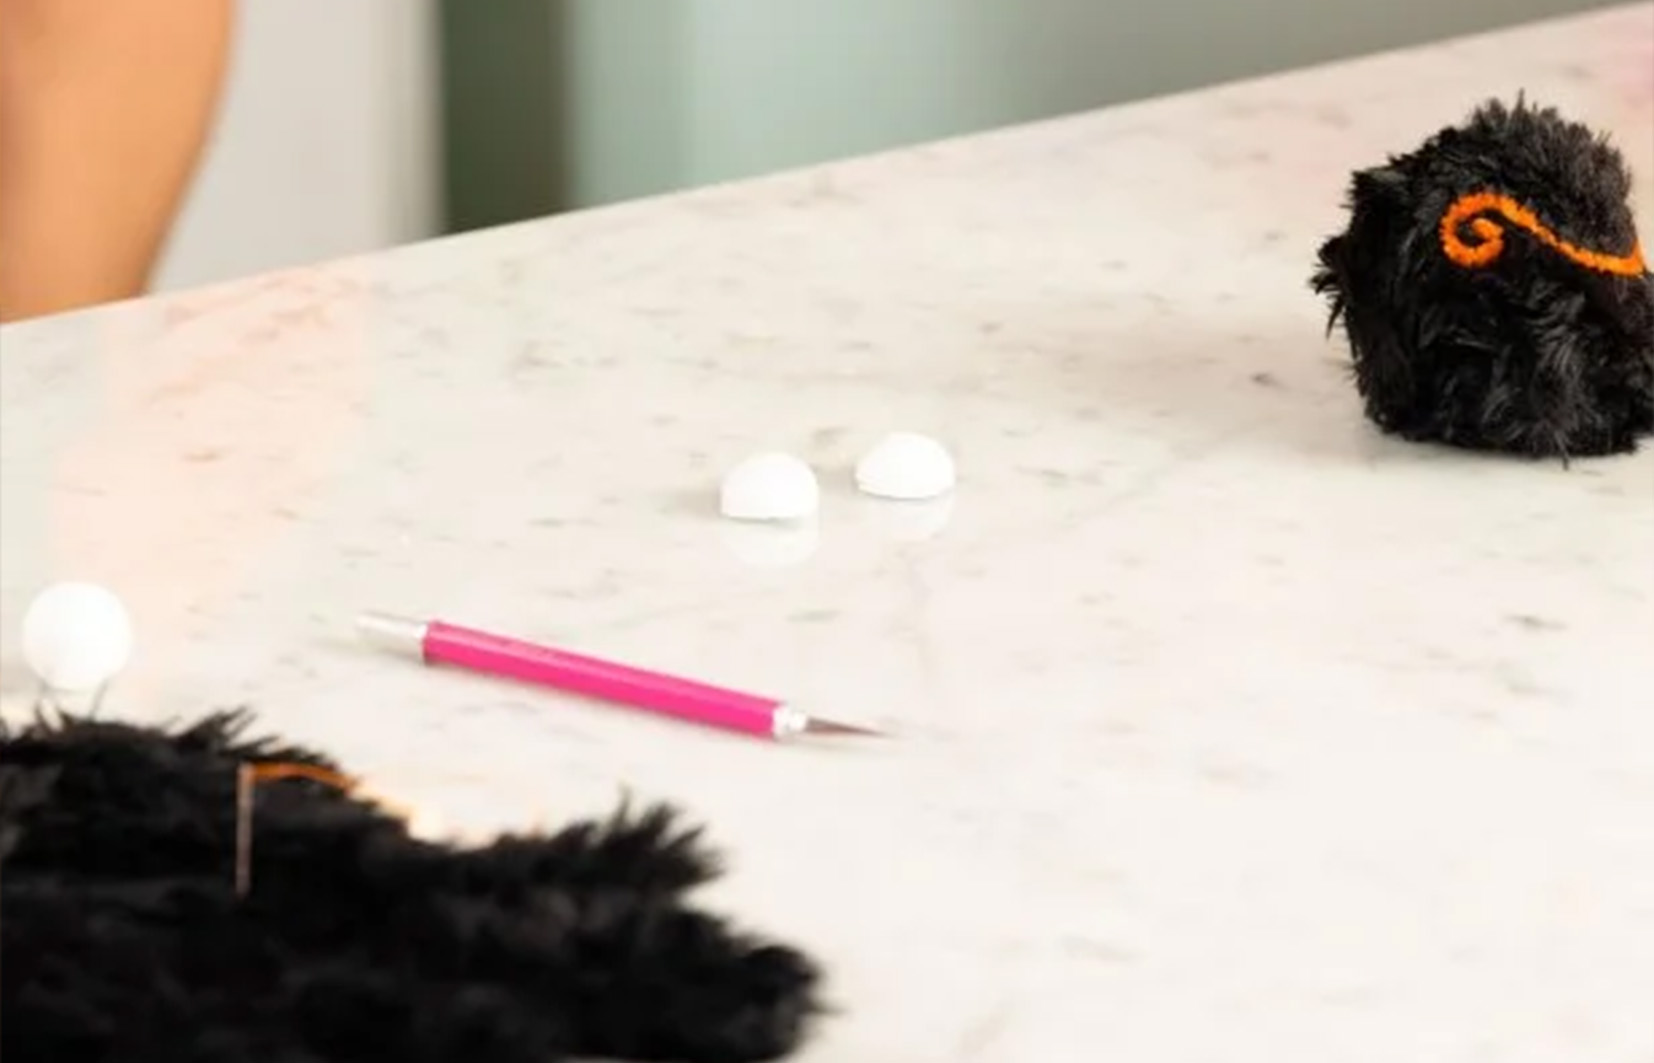
PHOTO: HGTV Handmade/Youtube

PHOTO: HGTV Handmade/Youtube
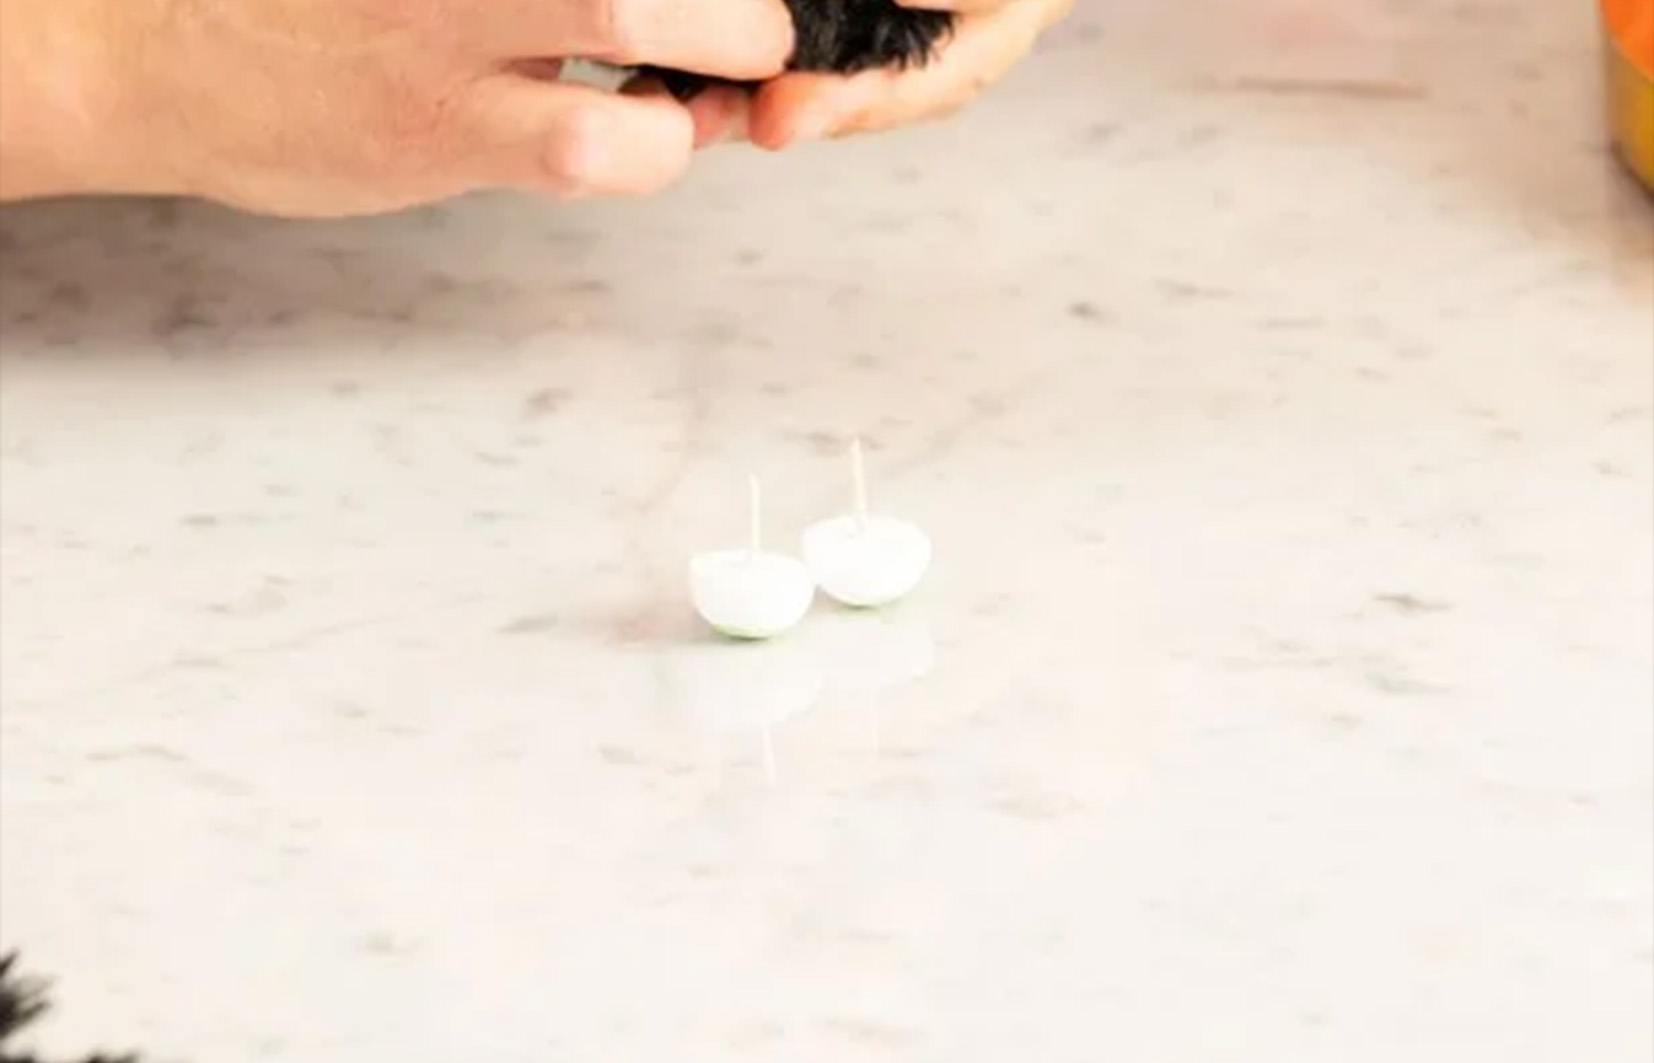
PHOTO: HGTV Handmade/Youtube
Step 9: Make the Spider Eyes
Take a 1-inch smooth styrofoam ball and cut it in half to create the spider’s eyes. Paint each half with acrylic paint, adding the iris and pupil. After the paint dries, insert a toothpick into each eye. You may need to trim the toothpicks down so that they’re not too long.
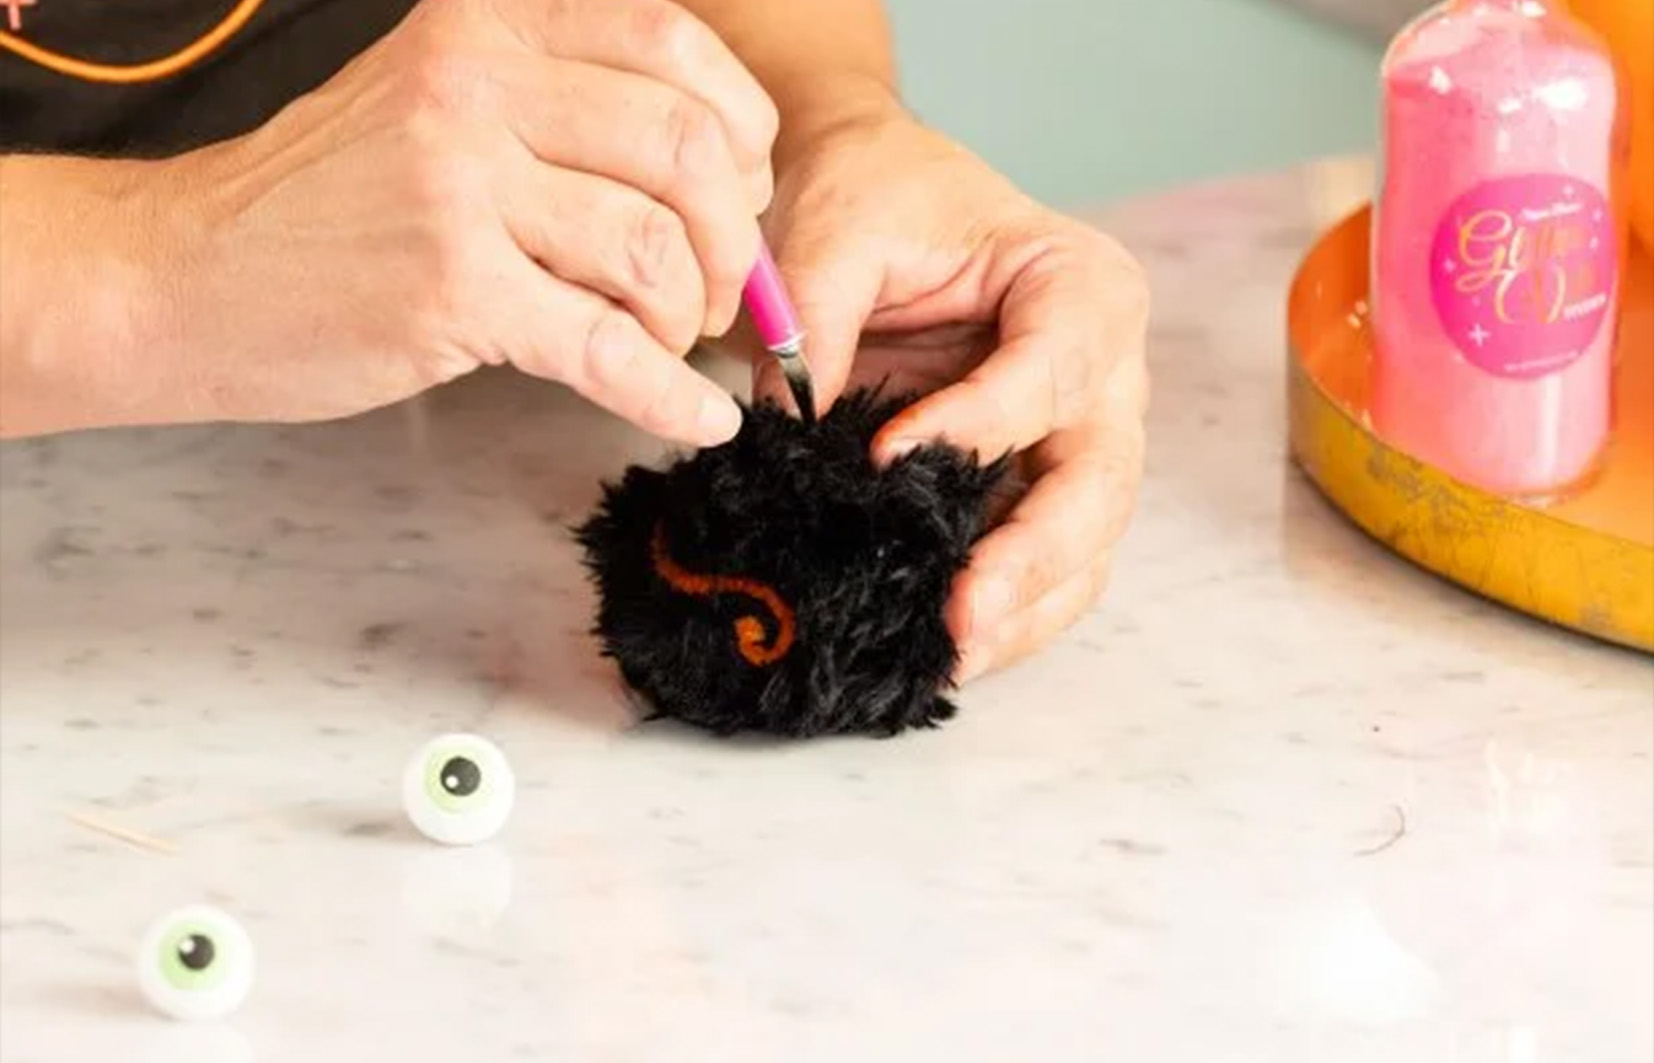
PHOTO: HGTV Handmade/Youtube
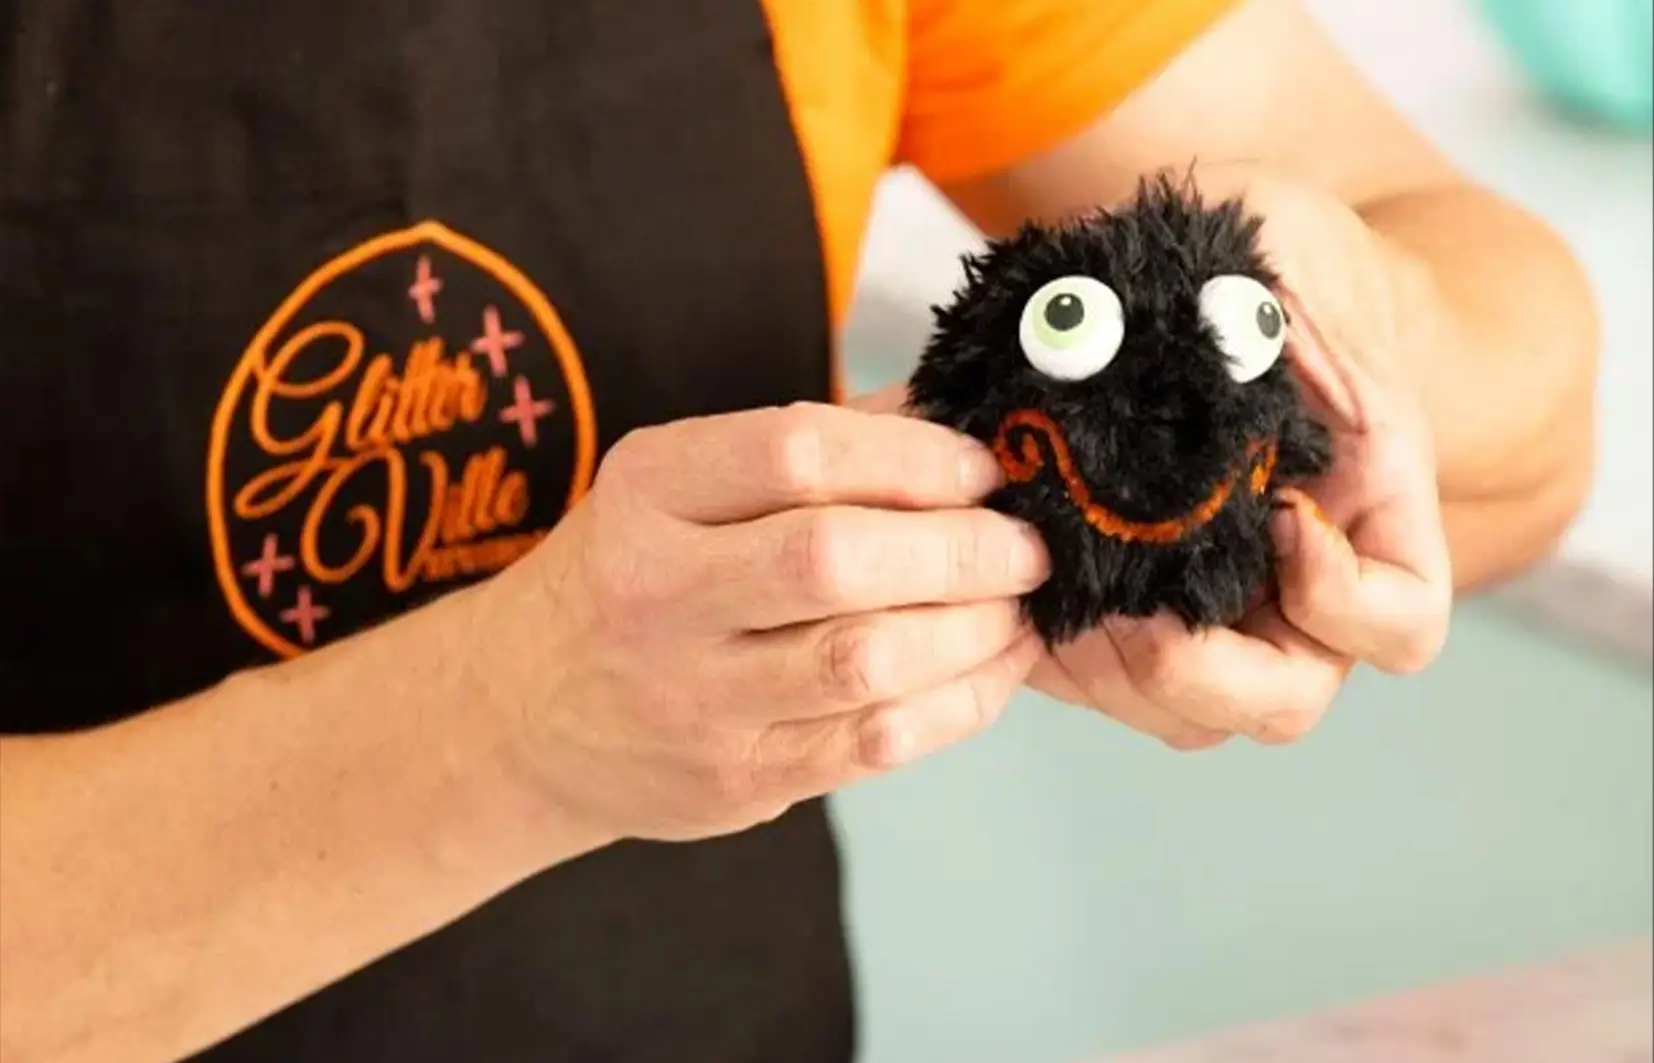
PHOTO: HGTV Handmade/Youtube
Step 10: Attach the Spider Eyes
Using a toothpick, poke shallow guide holes in the spider’s head where the eyes will go. Insert the eyes into the guide holes and secure them in place by pressing them firmly into the head.
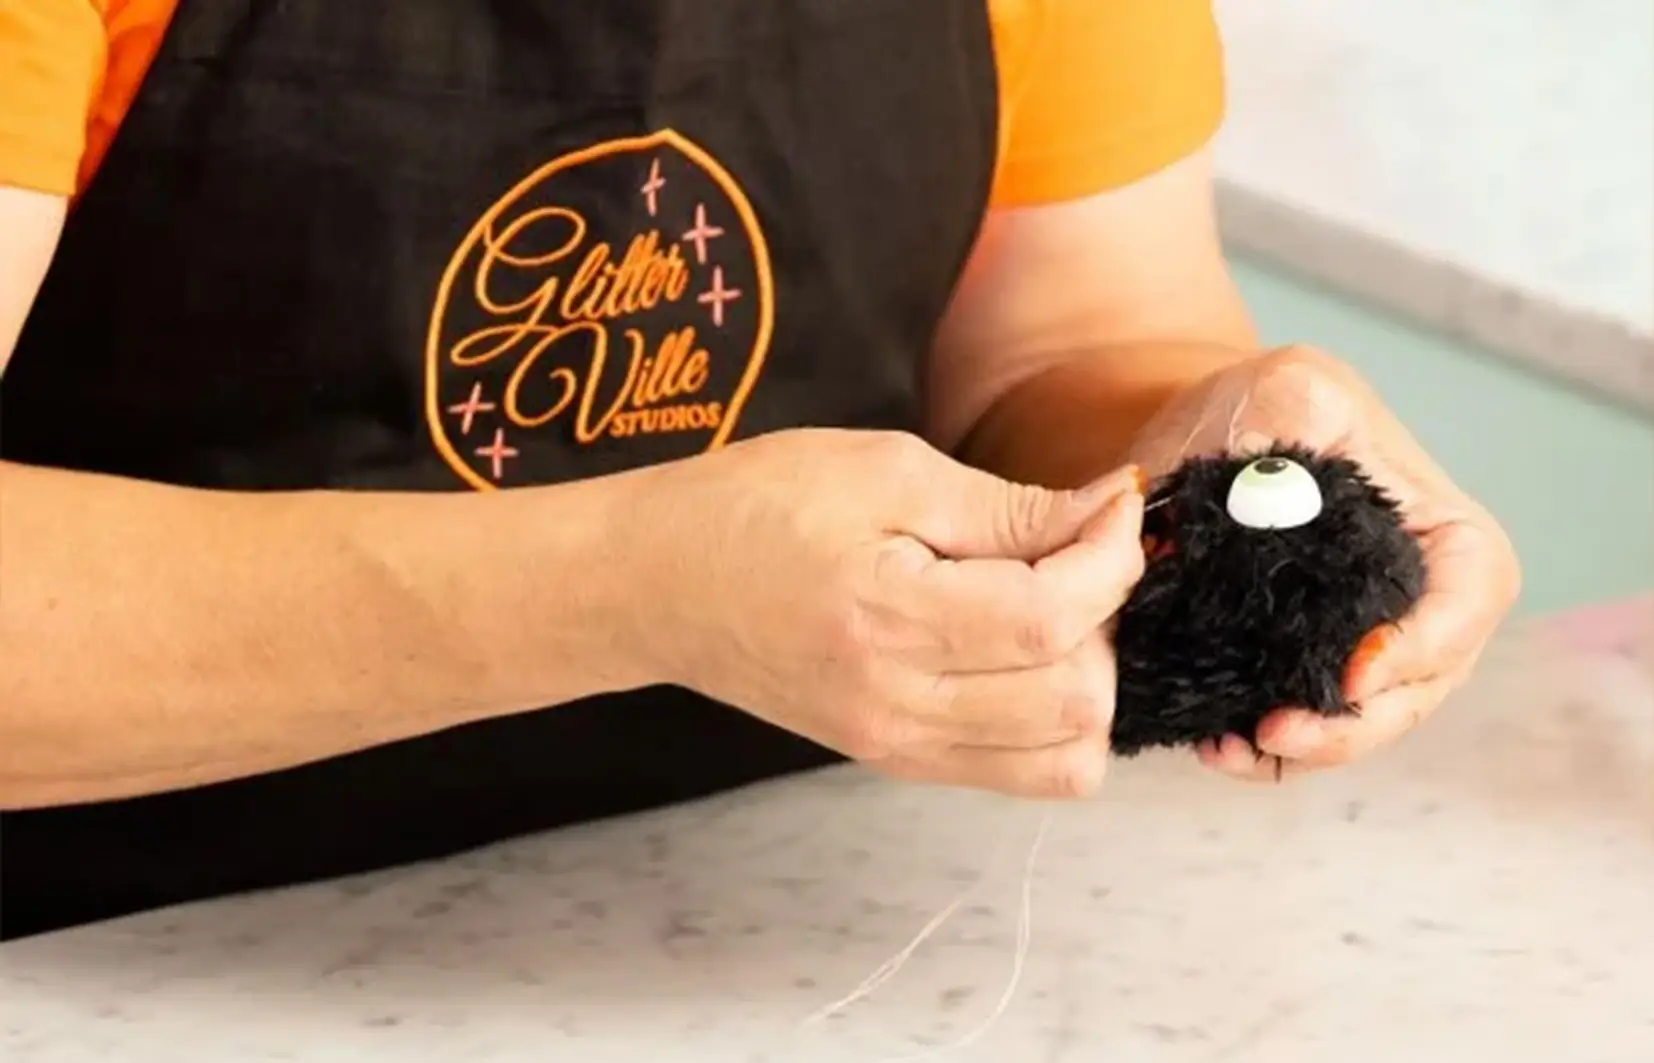
PHOTO: HGTV Handmade/Youtube
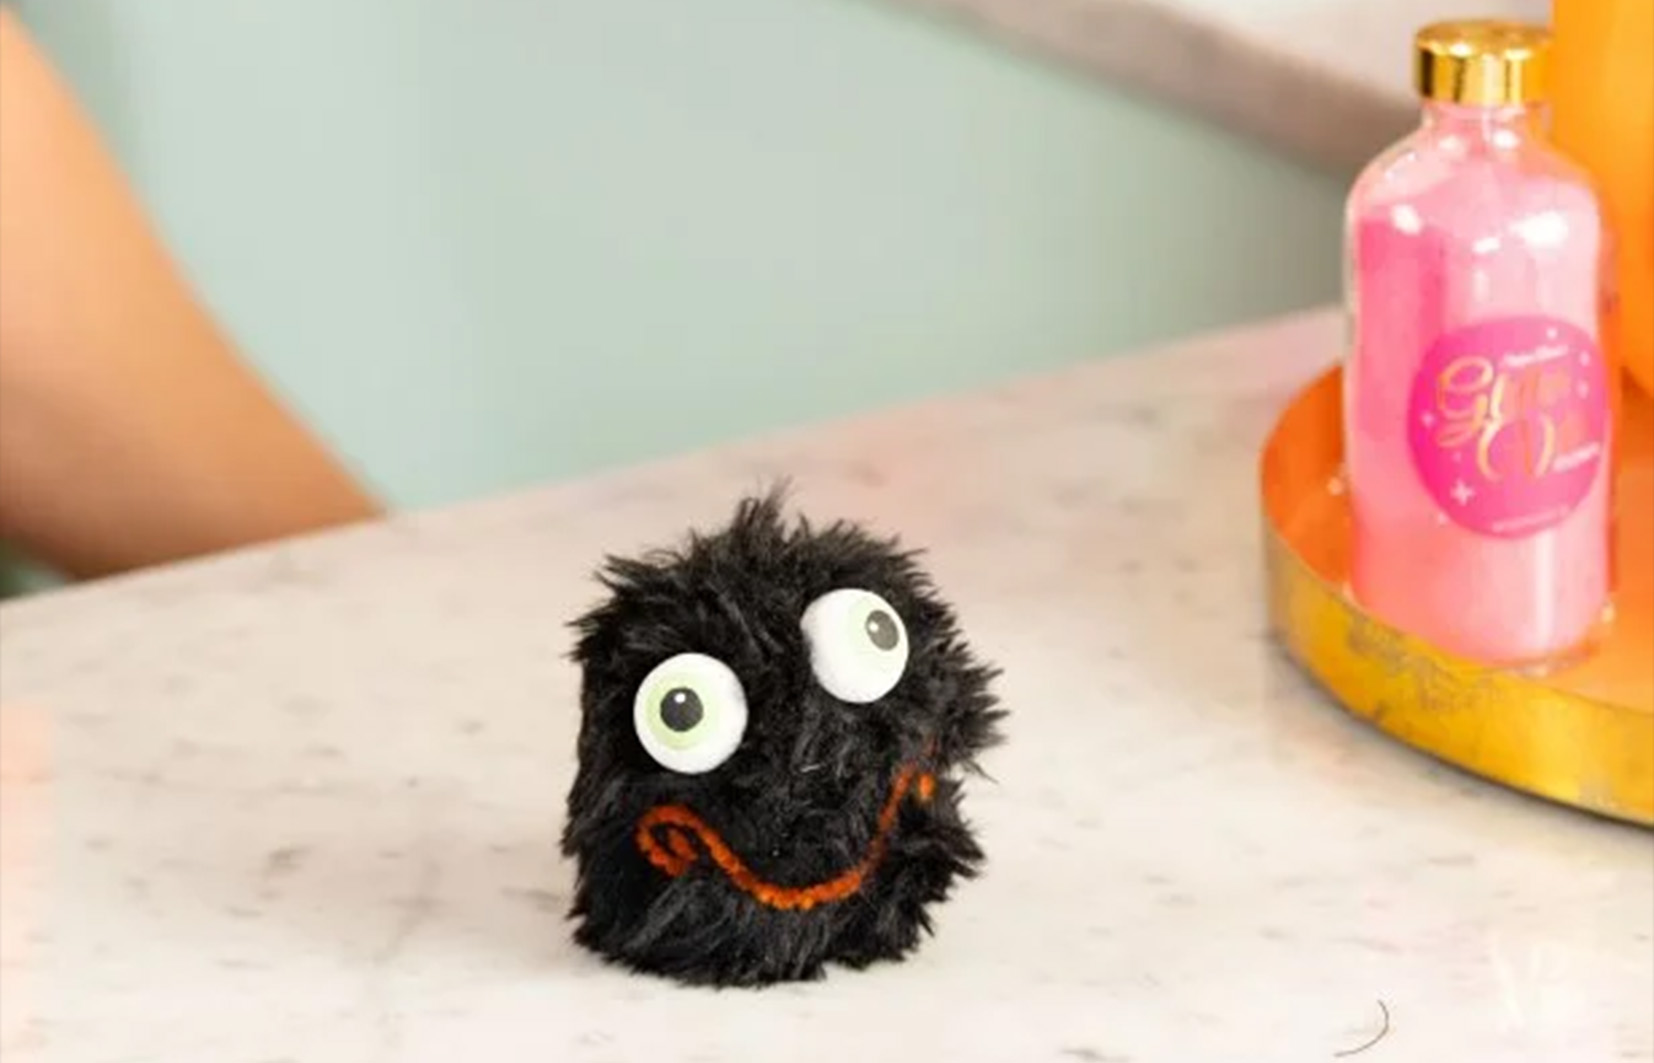
PHOTO: HGTV Handmade/Youtube
Step 11: Sew the Spider Nose
Sew a few stitches in the center of the spider’s face using white buttonhole thread to create the nose. Trim any fur that may be covering the nose so that it’s visible.
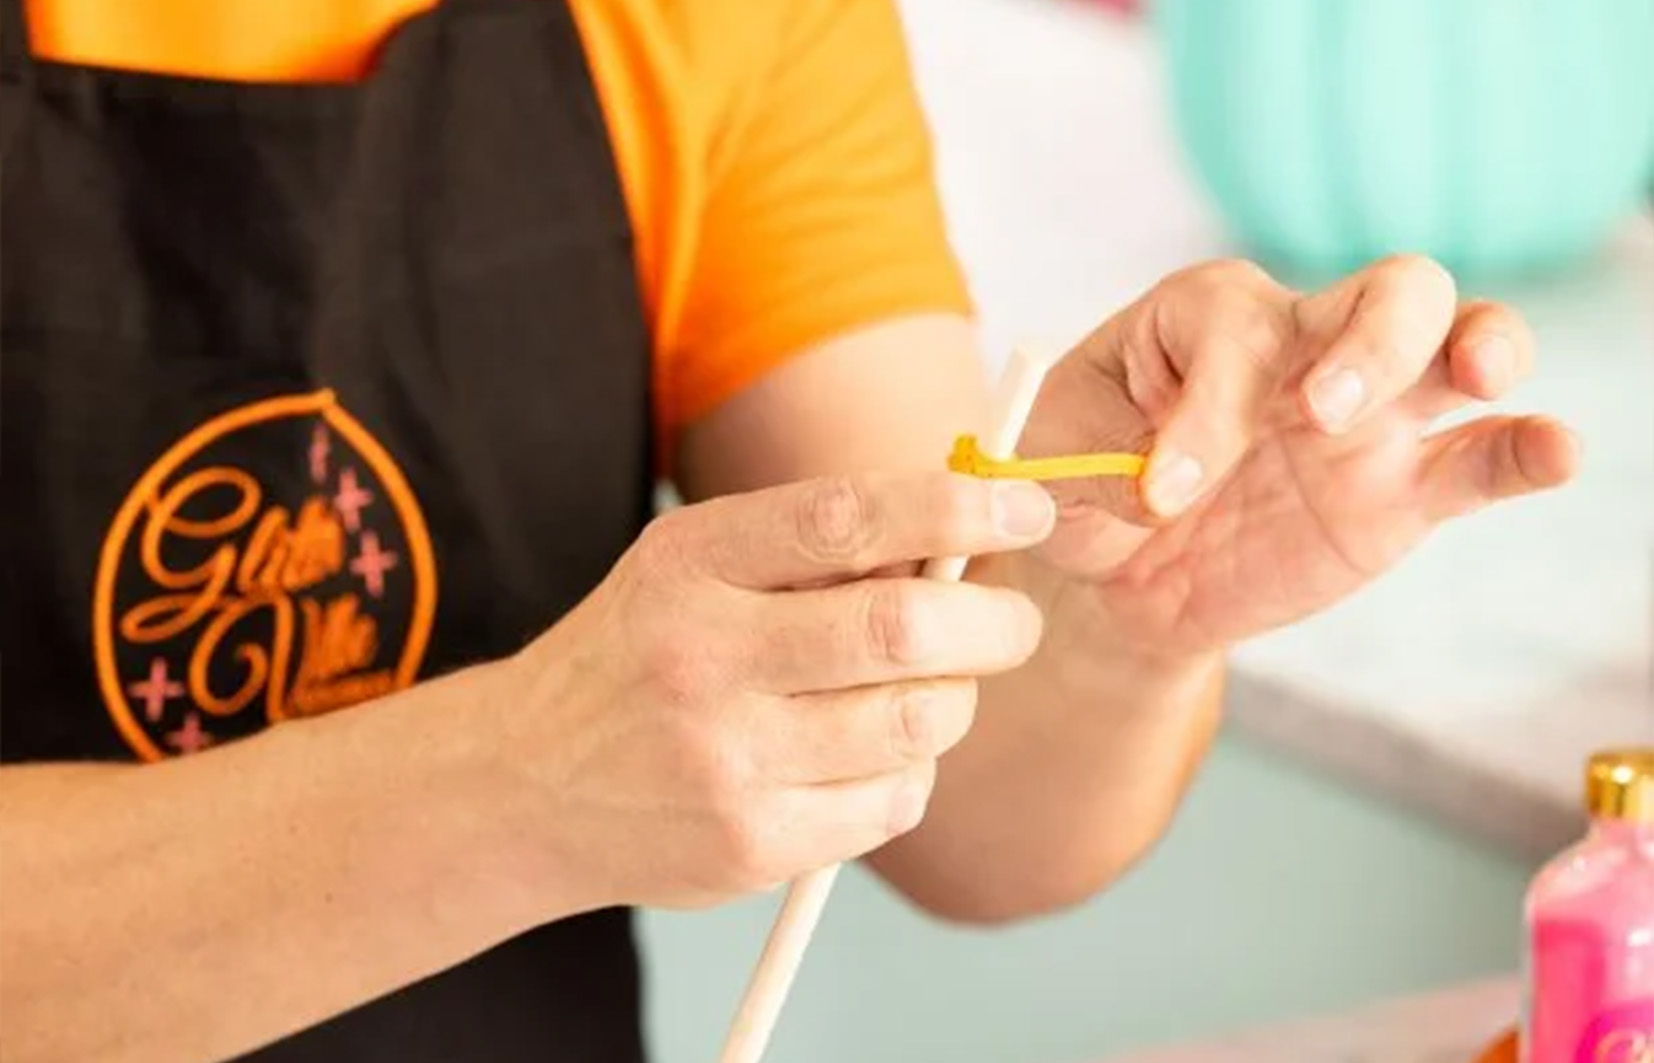
PHOTO: HGTV Handmade/Youtube
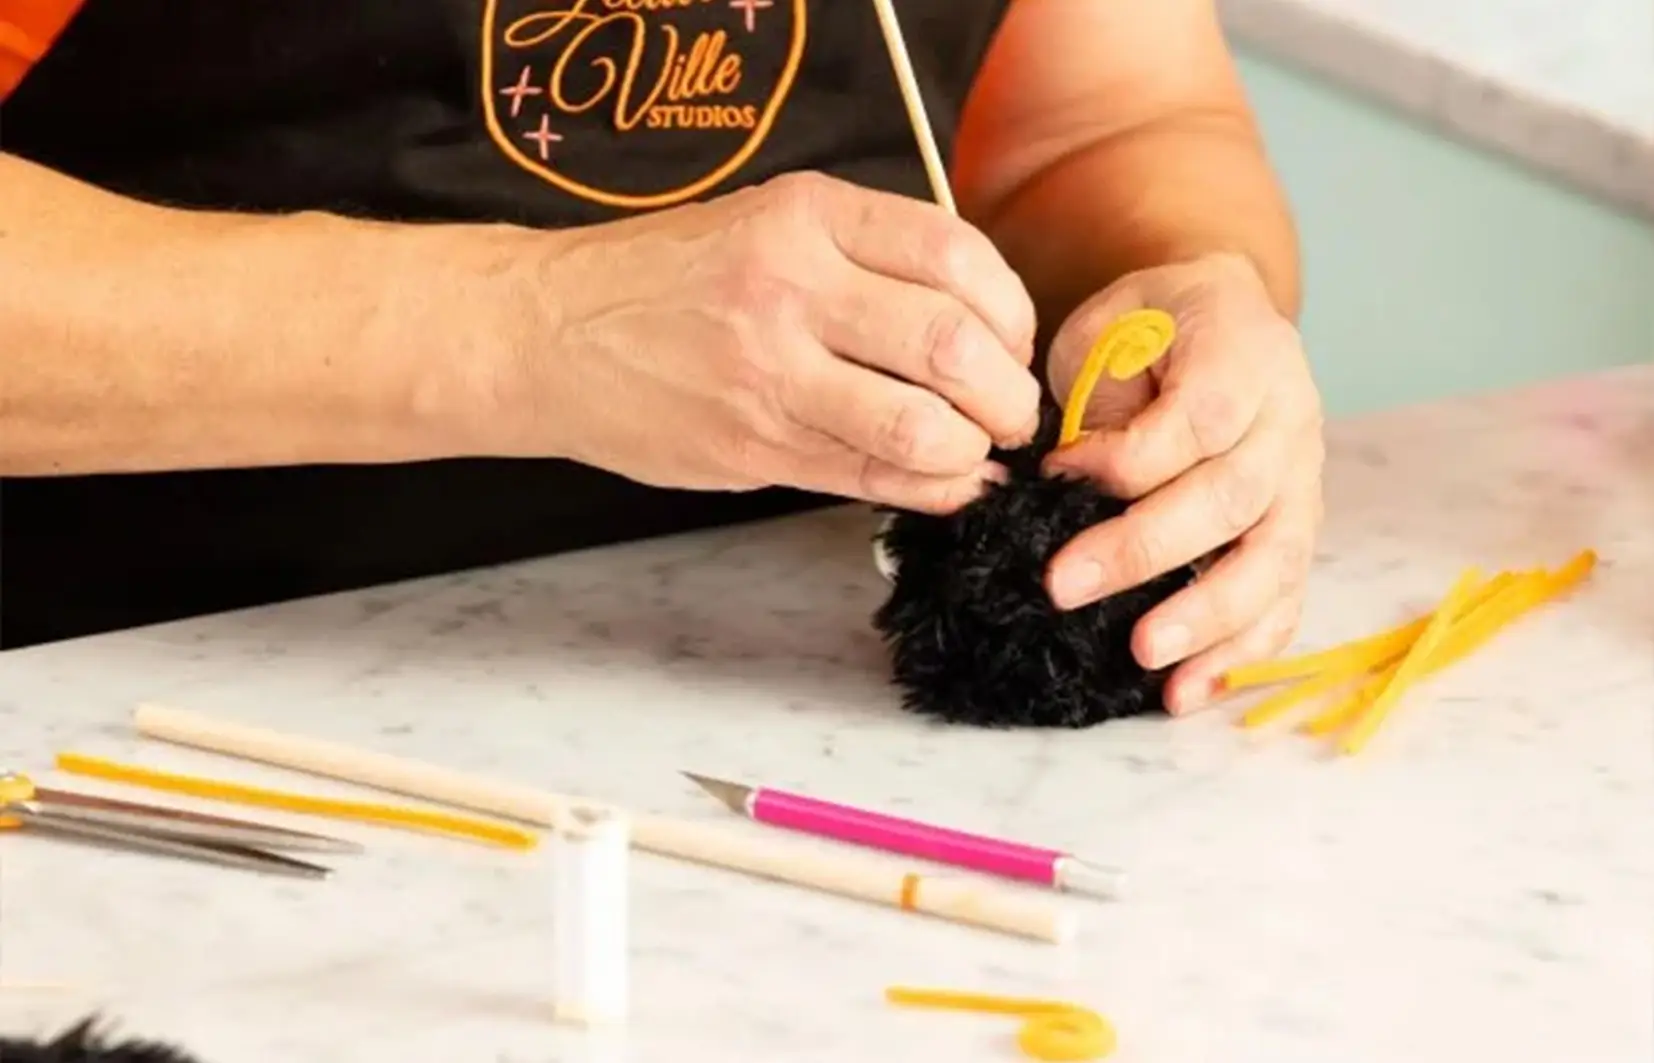
PHOTO: HGTV Handmade/Youtube
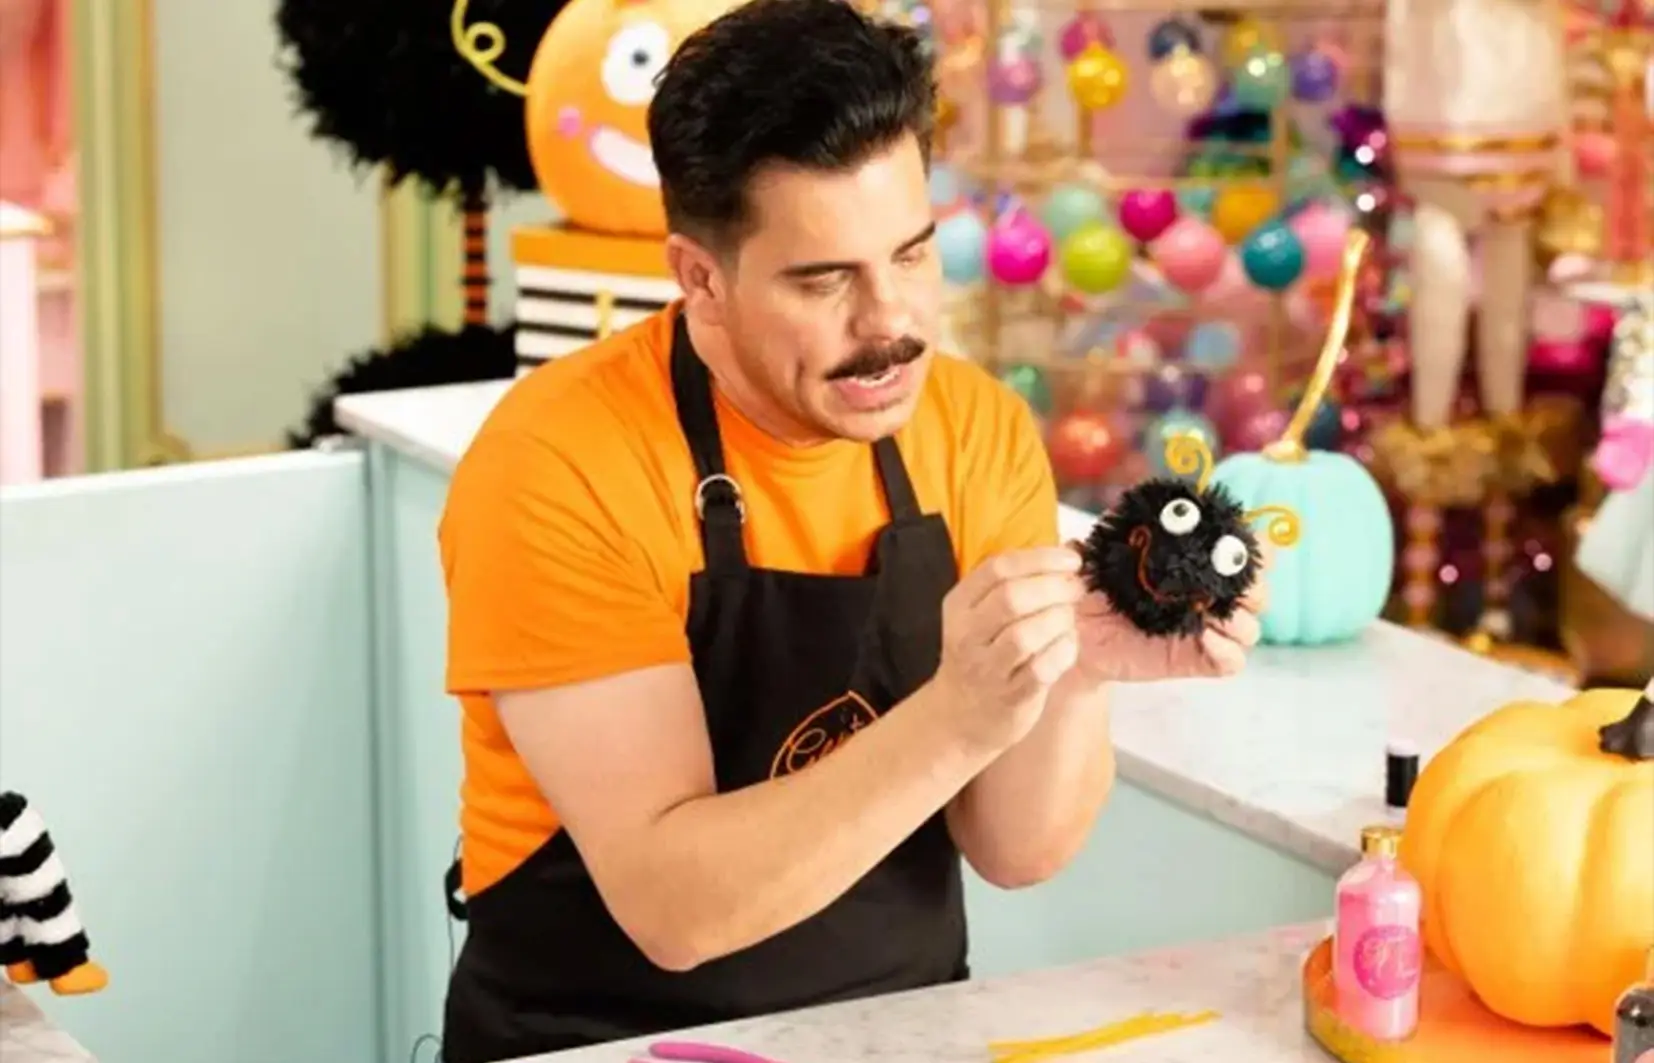
PHOTO: HGTV Handmade/Youtube
Step 12: Create and Attach the Antennae
Cut two 6-inch pieces of orange chenille stems to form the antennae. Curl one end of each stem and use a kitchen skewer to poke guide holes into the spider’s head. Insert the antennae into the holes, securing them in place.
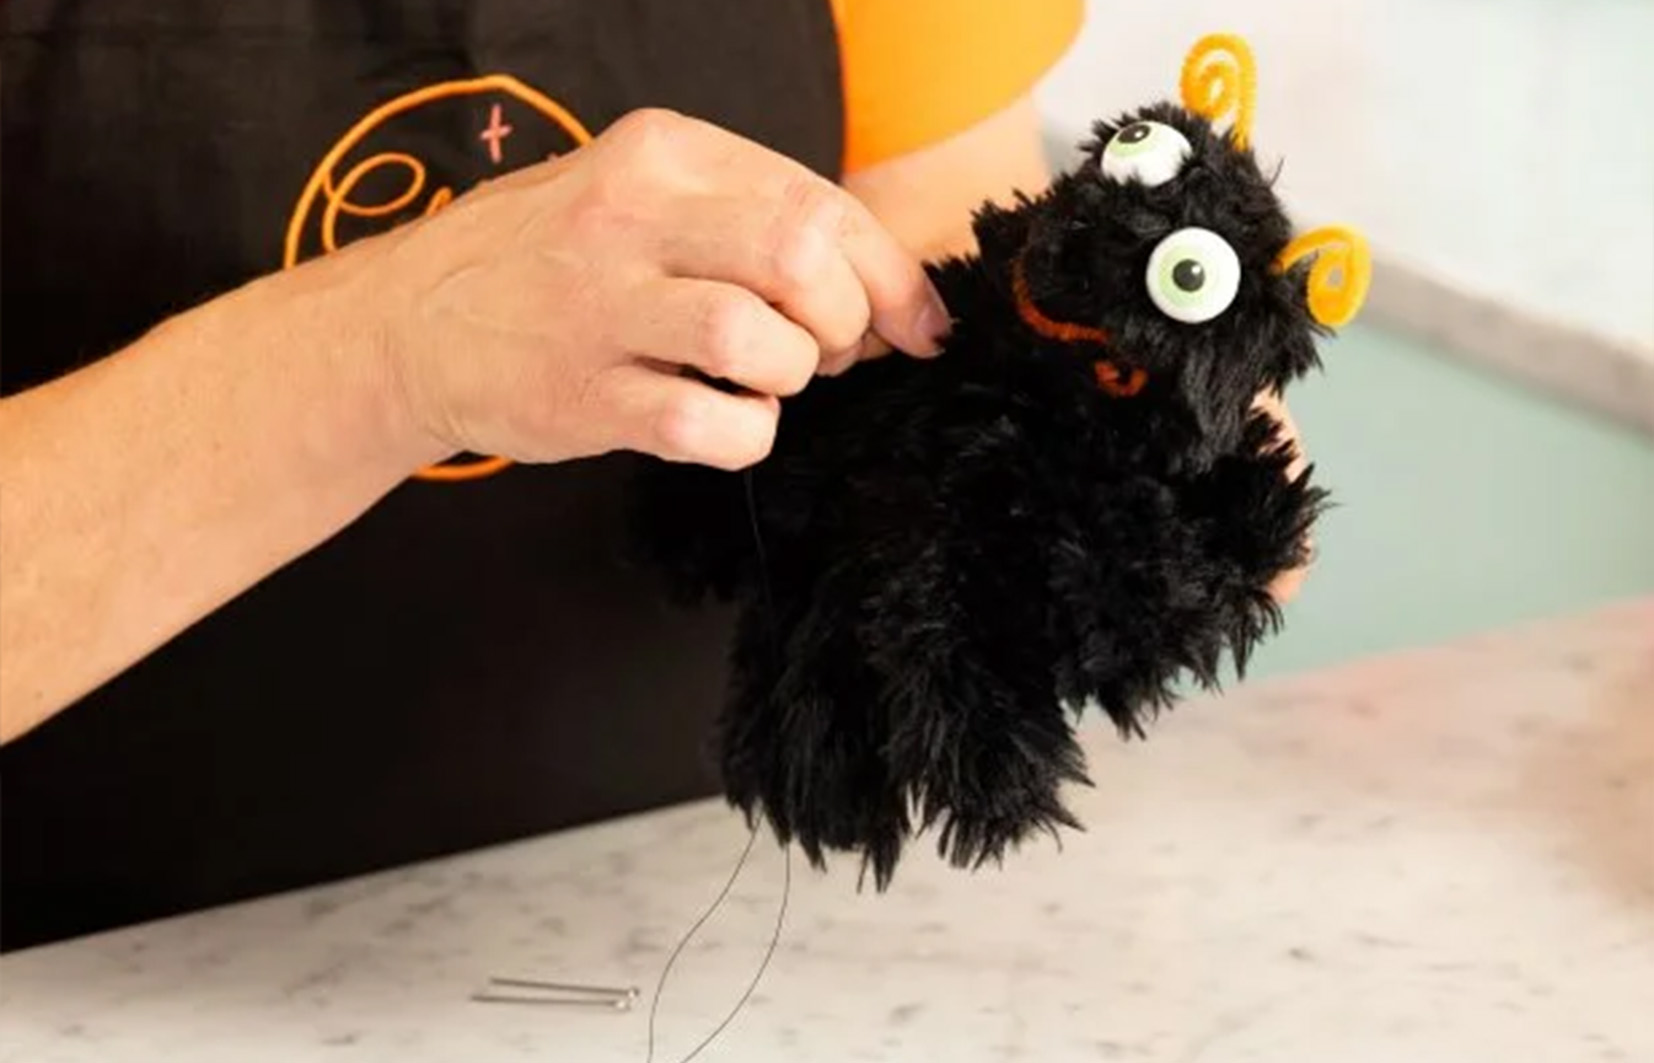
PHOTO: HGTV Handmade/Youtube
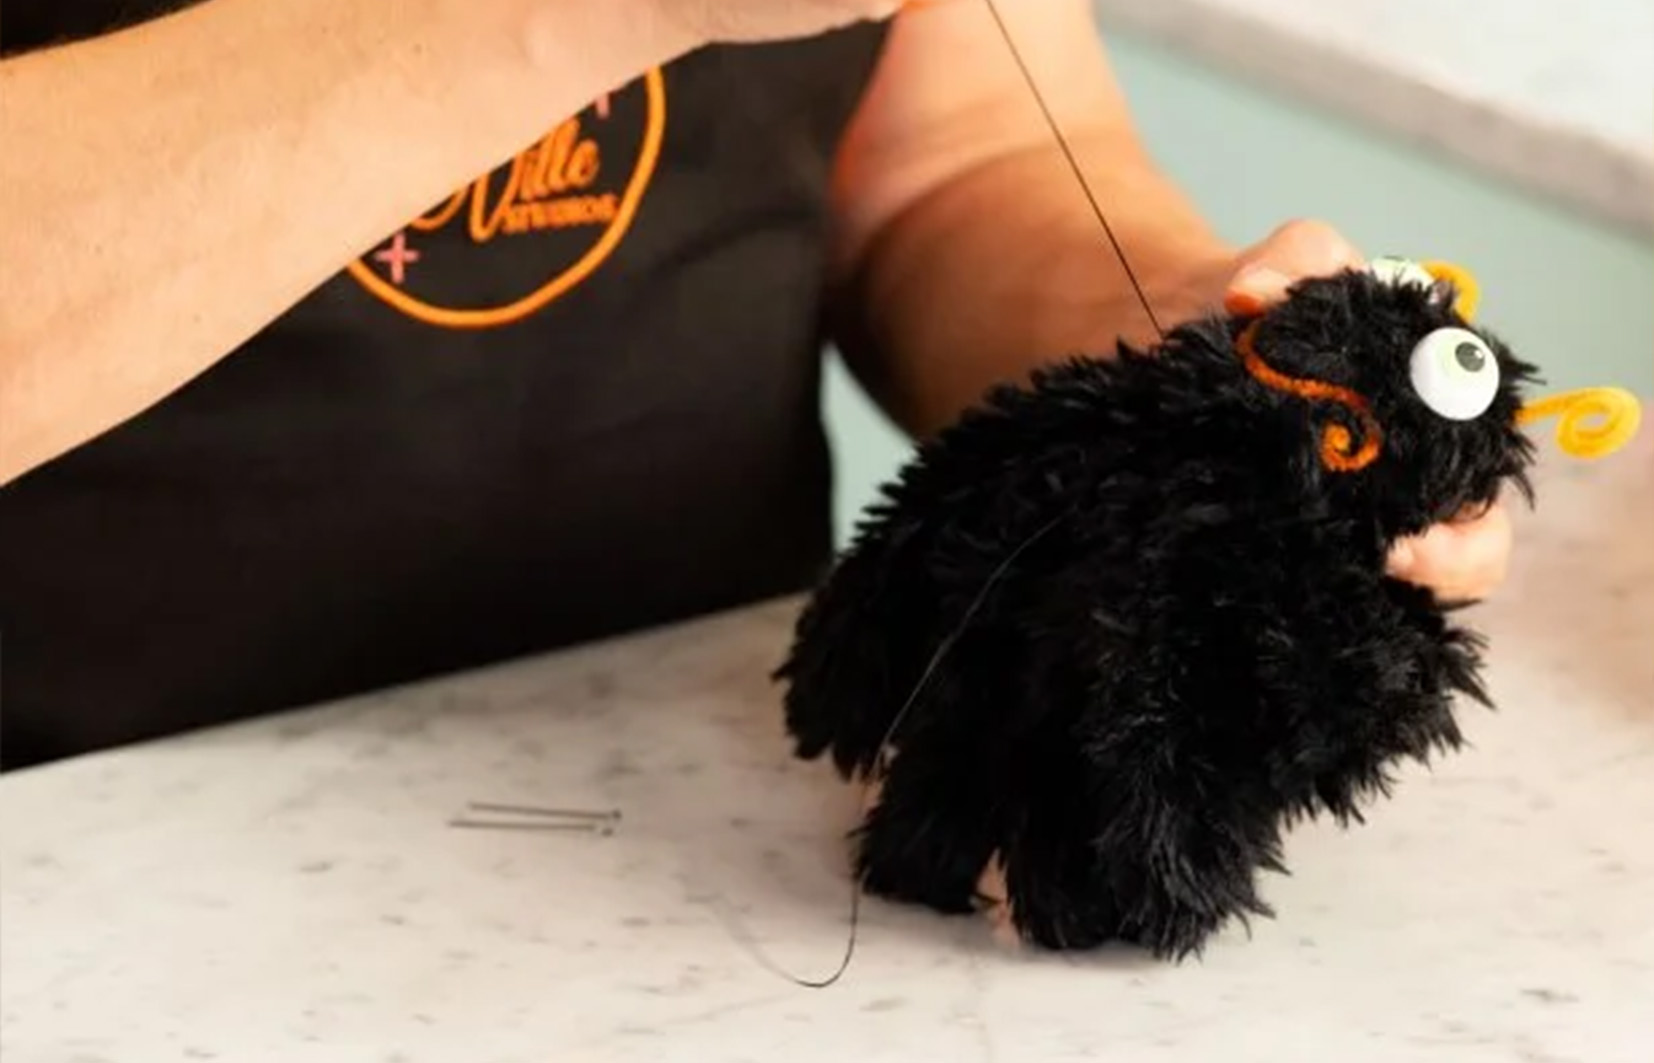
PHOTO: HGTV Handmade/Youtube
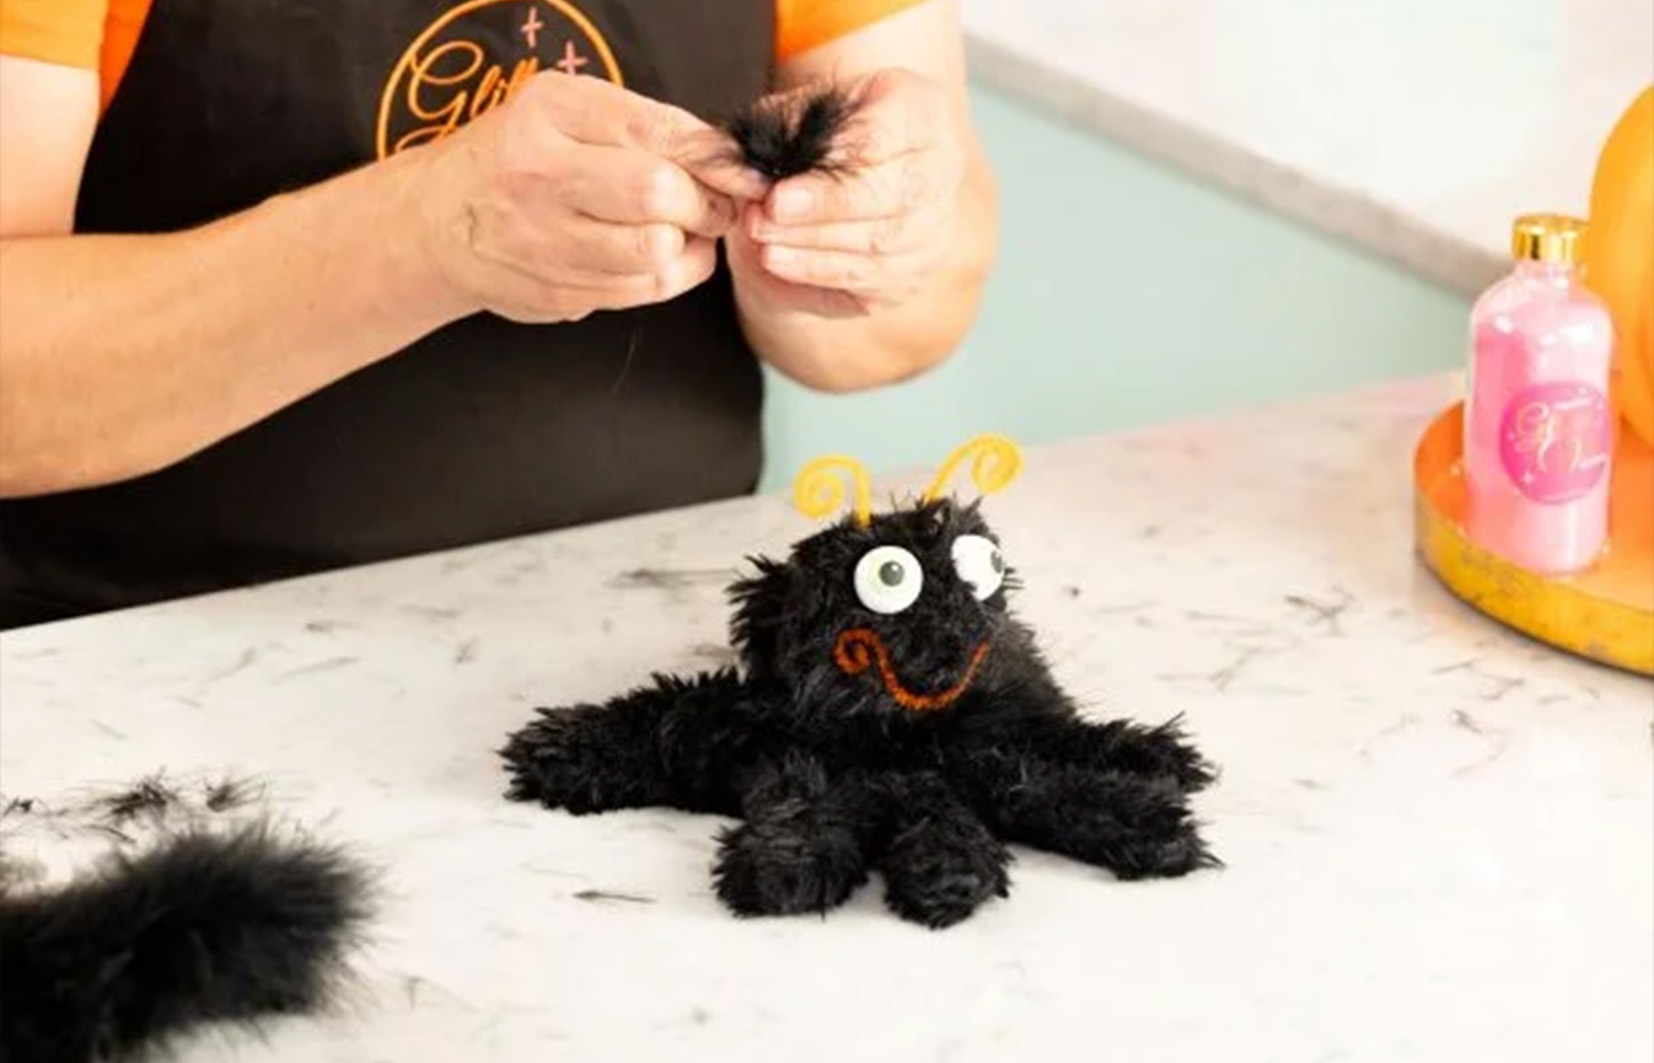
PHOTO: HGTV Handmade/Youtube
Step 13: Attach the Spider Head to the Glove
To attach the spider’s head to the glove, push a U-shaped floral pin through the top of the glove and into the bottom of the head. Hand-stitch the head to the glove, then remove the floral pin. Finish by securing a piece of black marabou around the base of the head for a polished look.
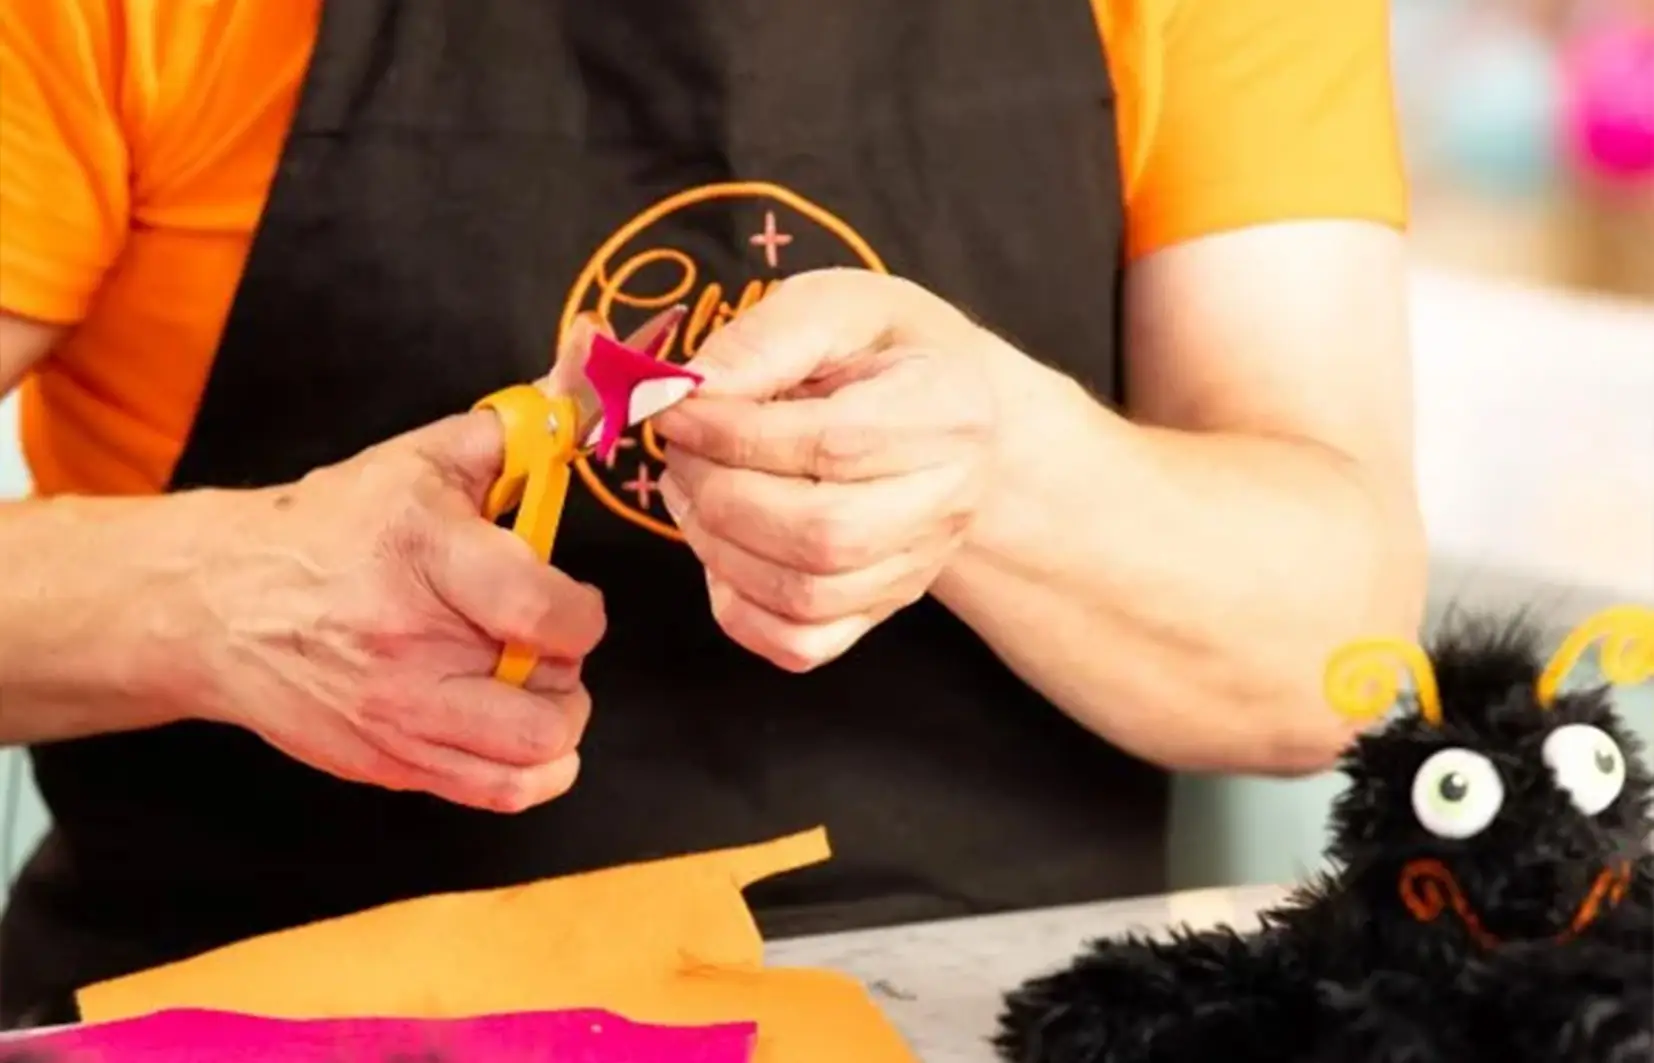
PHOTO: HGTV Handmade/Youtube

PHOTO: HGTV Handmade/Youtube
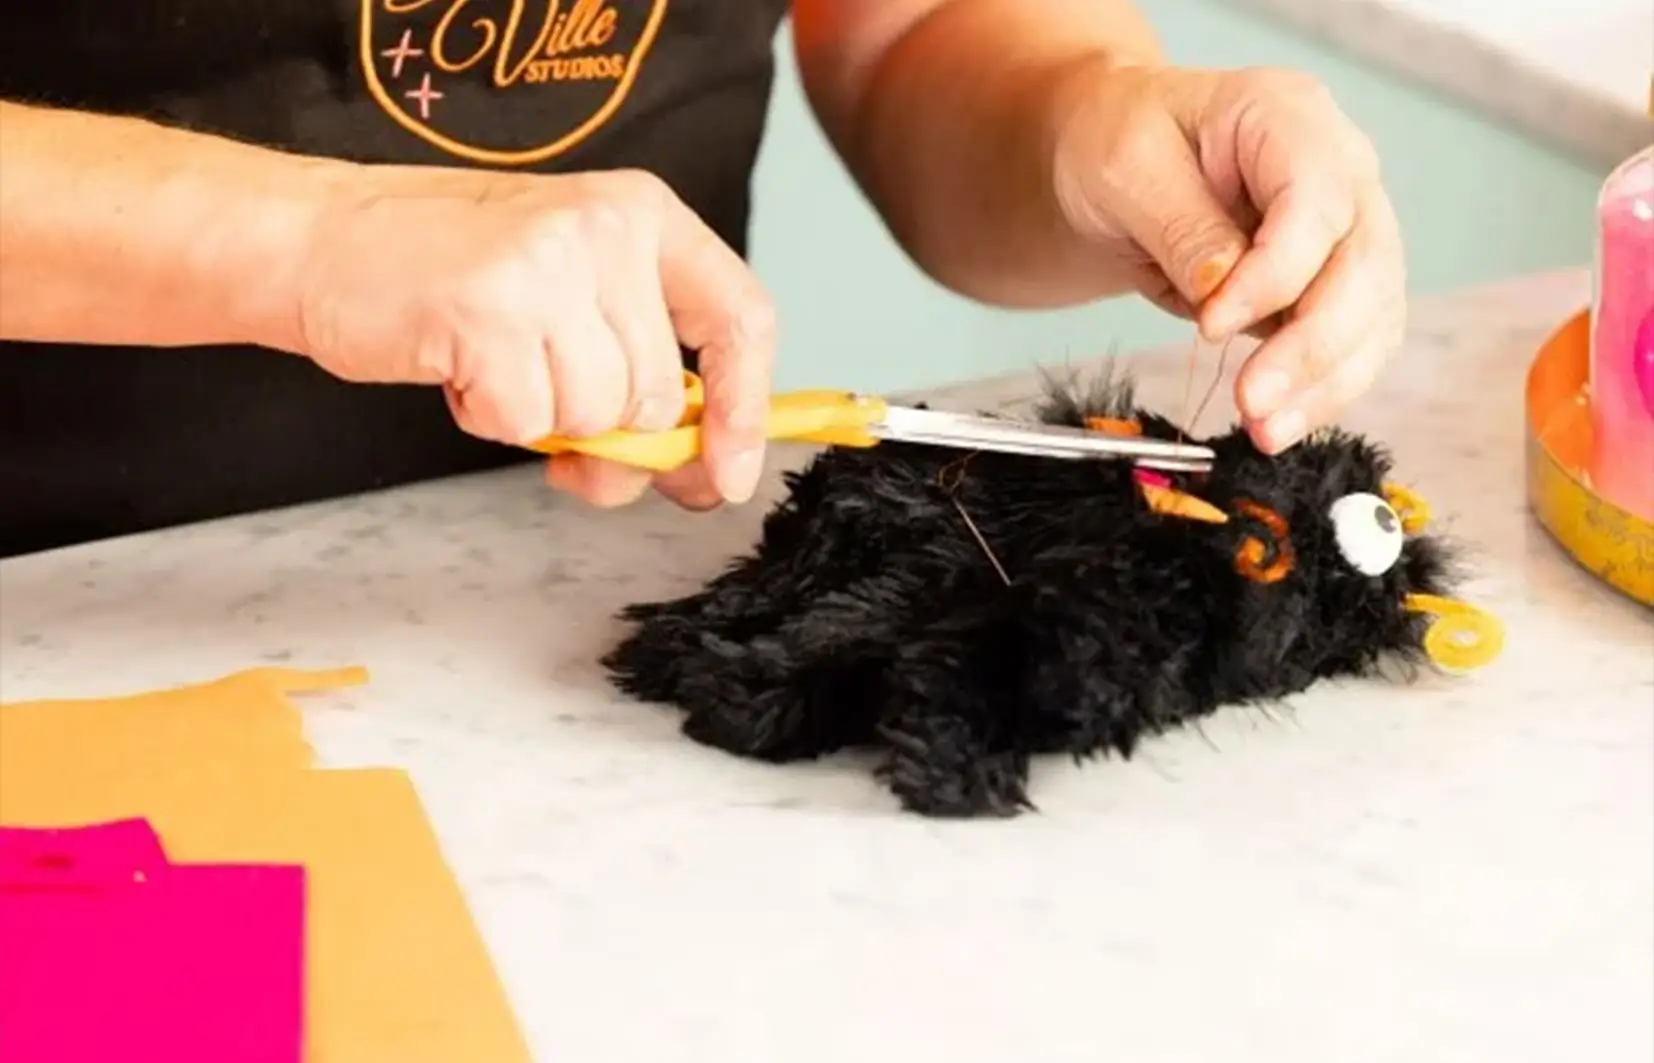
PHOTO: HGTV Handmade/Youtube
Step 14: Create and Attach a Felt Bow Tie
Cut a bow-tie shape out of orange felt and a small knot shape from pink felt. Stitch the knot onto the bow tie, and then attach the bow tie to the spider’s neck, right below the head.

PHOTO: HGTV Handmade/Youtube
Step 15: Enjoy Your Spider Puppet!
Now that your spider hand puppet is complete, it’s time to have some fun! Whether you use it for a Halloween puppet show or as part of a costume, this adorable spider is sure to bring smiles to everyone’s face.
This project may require a bit of patience, but the result is a unique, hand-sewn spider puppet that adds a playful touch to any Halloween event. So grab your materials and let your creativity take over!